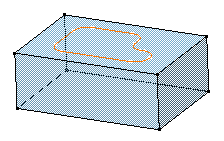
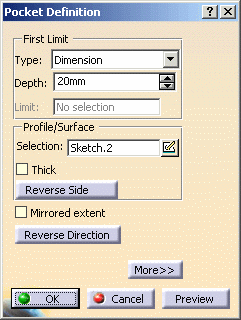
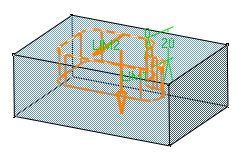
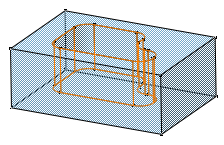
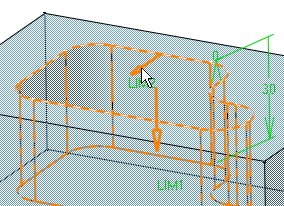
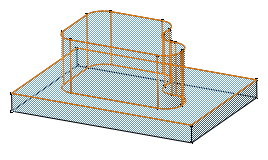
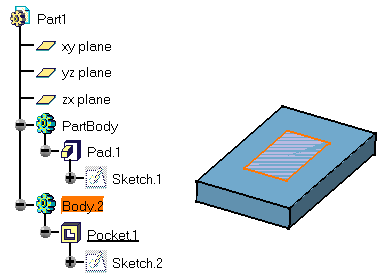
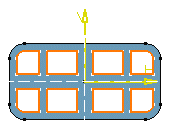
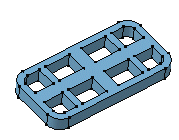
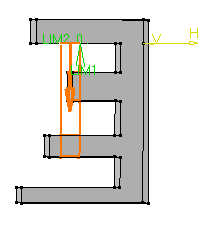
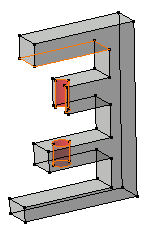
This task first shows you how to create a pocket, that is a cavity, in an already existing part, then you edit this pocket to remove the material surrounding the initial profile.
About Profiles
- You can use profiles sketched in the Sketcher workbench or planar geometrical elements created in the Generative Shape Design workbench (except for lines).
- You can create pockets from sketches including several closed profiles. These profiles must not intersect.
- You can select diverse elements constituting a sketch too. For more information, refer to Using the Sub-Elements of a Sketch.
- Instead of selecting profiles, you can select surfaces created in the Generative Shape Design workbench, non-planar faces and even CATIA V4. To know how to create a pocket from a surface, refer to Creating Pads or Pockets from Surfaces.
-
If you are not satisfied with the profile you selected, note that you can:
- click the Selection field and select another sketch.
- use any of these creation contextual
commands available from the Selection field:
-
Create Sketch: launches the Sketcher after selecting any plane, and lets you sketch the profile you need as explained in the Sketcher User's Guide.
-
Create Join: joins surfaces or curves. See Joining Surfaces or Curves.
-
Create Extract: generates separate elements from non-connex sub-elements. See Extracting Geometry.
-
If you create any of these elements, the application then displays the corresponding icon in front of the field. Clicking this icon enables you to edit the element.
If you have chosen to work in a hybrid design environment, the geometrical elements created on the fly via the contextual commands mentioned above are aggregated into sketch-based features.
- up to next: The extrusion stops at the first face that the workbench detects while performing the operation.
- up to last: The extrusion stops at the last face that the workbench detects while performing the operation.
- up to plane: The extrusion stops at the selected Plane while performing the operation.
- up to surface: The Extrusion stops at the selected surface while performing the operation. If the surface cuts the extruding profile, partially, app continues the extrusion for the uncut portion of the profile.
If you wish to use the Up to plane or Up to surface option, you can then define an offset between the limit plane (or surface) and the bottom of the pocket. For more information, refer to Up to Surface Pad.
-
To define a specific depth, set the Type parameter to Dimension, and enter 30mm.
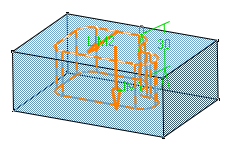
About Directions
By default, if you extrude a profile, the application extrudes normal to the plane used to create the profile. To specify another direction, click the More button to display the whole Pocket Definition dialog box, uncheck the Normal to profile option and select a new creation direction in the geometry.
- When copying and pasting a pocket using the As specified in Part document option (for more, see Handling Parts in a Multi-Document Environment), note that if the extrusion direction used does not belong to the same body as the pocket, this direction is not taken into account by the Copy and Paste commands.
- If you extrude a surface (for example created in the Generative Shape Design workbench), you need to select an element defining the direction because there is no default direction.
Limits
If you set the Up to Plane or Up to Surface option, contextual commands creating new planes or surfaces you may need are then available from the Limit field:
- Create Plane: see Creating Planes
- XY Plane: the XY plane of the current coordinate system origin (0,0,0) becomes the limit.
- YZ Plane: the YZ plane of the current coordinate system origin (0,0,0) becomes the limit.
- ZX Plane: the ZX plane of the current coordinate system origin (0,0,0) becomes the limit.
- Create Join: joins surfaces or curves. See Joining Surfaces or Curves.
- Create Extrapol: extrapolates surface boundaries. See Extrapolating Surfaces.
If you create any of these elements, the application then displays the corresponding icon in front of the Reference field.
Clicking this icon enables you to edit the element.

If you have chosen to work in a hybrid design environment, the elements created on the fly via the contextual commands mentioned above are aggregated into sketch-based features.
