See Managing Capture Options.
For this, during the capture edition or when a capture is set current, user can record which elements is show/no show in the capture, see Managing Tolerancing Capture Options.
Furthermore, user can specify a capture point of view by associating a camera, see Creating a Tolerancing Capture.
As the capture annotation is considered as an annotation, its 3D representation, and automatically its object in the specification tree, can be displayed in the other captures, but take care this means that only the capture annotation is taken into account, not the capture display.
Though a capture has a specified view support, it manages the Hide/Show status of the annotations of other views also. Hence, if the annotations in the other views are in Show mode during the capture creation, they are also displayed.
Open the Annotations_Part_05.CATPart document.
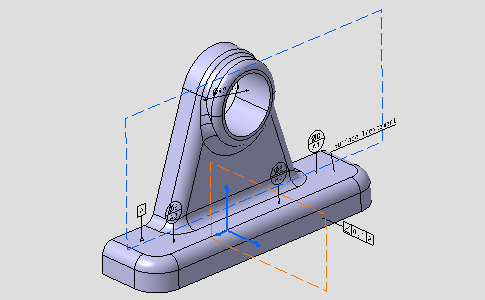
The specification tree looks like this:
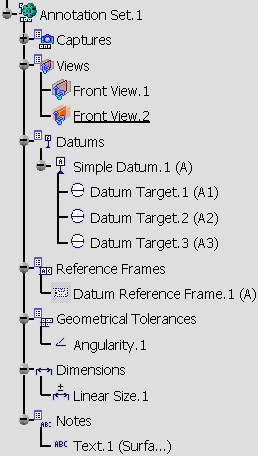
-
Right-click the All Texts in the Captures node and select Display Capture command from the contextual menu.

- All Texts capture is automatically set as
current:
 .
.
New created annotations will be associated with this capture. - During the capture display, the current type of Render Style, Parallel or Perspective, is used.
The geometry and specification tree look like this: - The geometry is zoomed and rotated.
- All annotations are hidden except notes.
- Front View.1 is hidden.
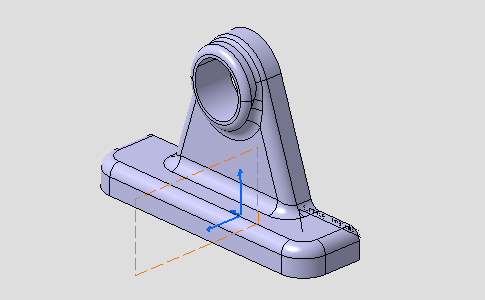
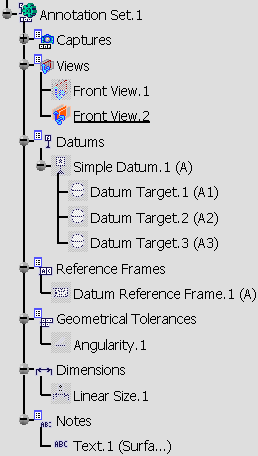
- All Texts capture is automatically set as
current:
-
Right-click the Angularity in the Captures node and select Display Capture from the contextual menu.

All Texts capture is automatically unset as current and Angularity capture is automatically set as current. The geometry and specification tree look like this: - The geometry is moved and rotated.
- Annotation planes are hidden.
- Only the datum and the geometrical tolerance are shown.
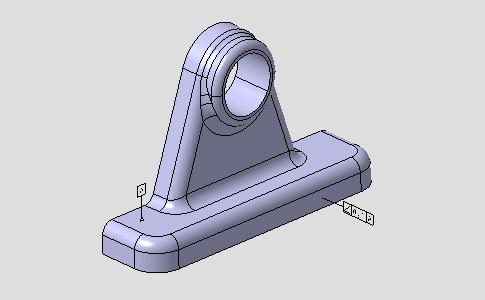
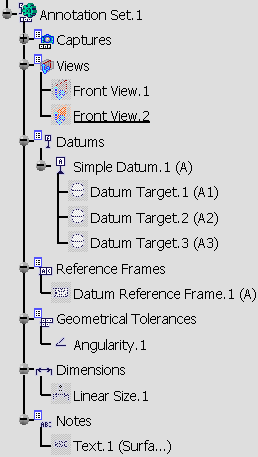
-
Right-click the Normal View in the Captures node and select Display Capture form the contextual menu.

Angularity capture is automatically unset as current and Normal View capture is automatically set as current. The geometry looks like this: - The geometry is zoomed.
- Annotation planes are hidden.
- Annotations are shown.
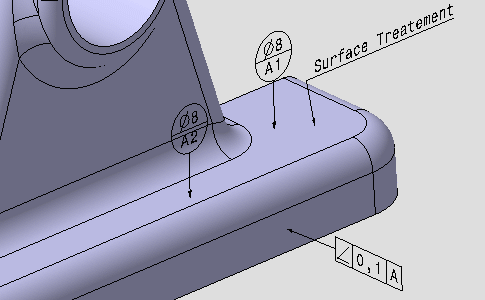
-
Right-click the Reverse View in the Captures node and select Display Capture form the contextual menu.

Normal View capture is automatically unset as current and Reverse View capture is automatically set as current. This capture has been created from the Normal View capture and only the part orientation has been modified.
Normal View and Reverse View displays show you that annotations are automatically mirrored.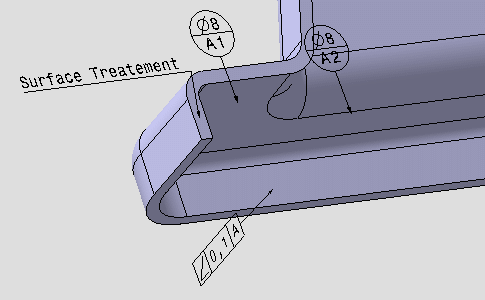

To stop the automatic mirroring of annotations clear the Mirror annotations options in Tools > Options > Mechanical Design > Functional Tolerancing & Annotations, Display tab, Capture display area. In such case, you can use the
 command in Visualization toolbar or in Capture
Visualization toolbar (in Tolerancing Capture
workbench) to manage the mirroring of annotations. For more
information on mirroring of annotations refer to
Mirroring Annotations.
3D Preview of capture
When a capture is selected in 3D or in the specification tree, the clipping plane and section profile of the active view in the capture are displayed.
|
|
The clipping plane and section profile of the
active view inside a capture will be displayed only if the 3D-Annotation-Query Switch On/Switch Off option
command is active
|
You can see that the section plane is displayed as thick orange line and the clipped surface is seen as the green section.
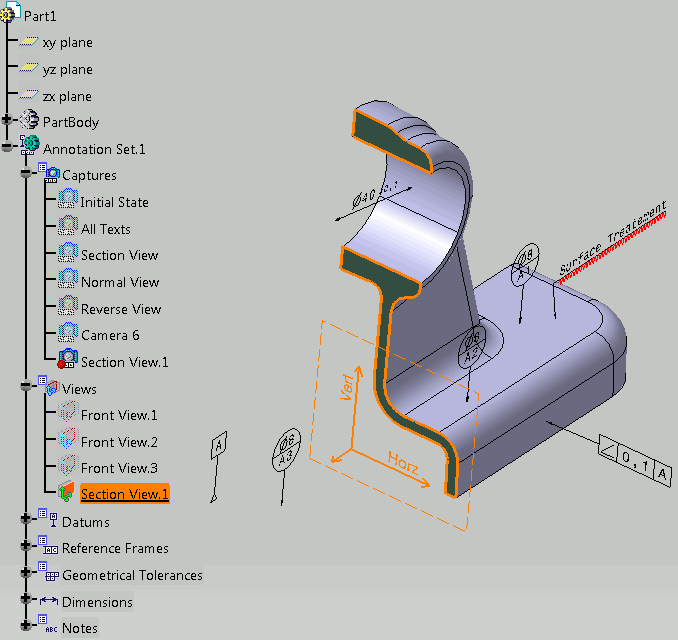 |
-
Section profile is displayed as thick line. The section profile will be shown only when the active view of the selected capture is section cut or a section view. For other views only the clipping will be seen, not the profile.
-
The clipped part seen, is similar to when the Clipping Plane
 option is activated. The properties for the representation of
the clipping plane is again taken from the Display and
Hatching, coloring or dotting for clipping plane option
set for the clipping plane.
 -
The status of Clipping Plane command does not impact the capture selection process. Even if the command is deactivated the clipping profile is seen and the view is clipped on capture selection.
-
If Clipping Plane command is activated, the clipping of the active view is displayed. If a capture is selected whose active view is different from the active view in the CATPart, then the clipping of the CATPart active view is replaced by the clipping of the capture active view. The clipping of the CATPart active view will be restored when there is no capture is selected.
-
If more than one capture are selected, then the last selected capture is taken into account and the profile and clipping plane of its active view is displayed.
-
The Show/No Show status of the capture does not change the behavior. Even if the capture is in No Show mode, the clipping plane and the section profile are still displayed.
The already displayed or reviewed captures are highlighted with a purple background in the specification tree.
|