See Using a View/Annotation Plane for more information.
See also Creating a Section View/Annotation Plane, Creating a Section Cut View/Annotation Plane.
Open the Common_Tolerancing_Annotations_01.CATPart document.

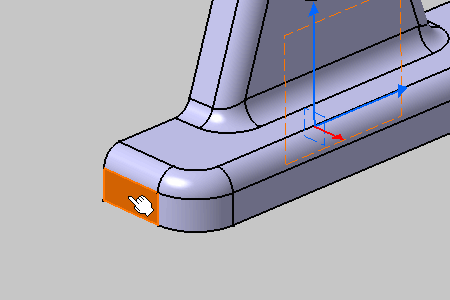
You have to select a planar element only to perform this command.
The View Creation dialog box appears. For more information on View Creation dialog box, see More about View Creation Dialog Box.
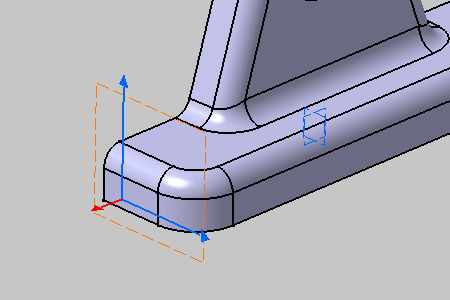
The front view is created.
Front views are represented by a blue reference axis,
its normal axis is red
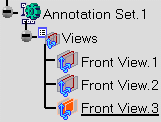
until you create an annotation, and are identified as Front View.1
in the specification tree.


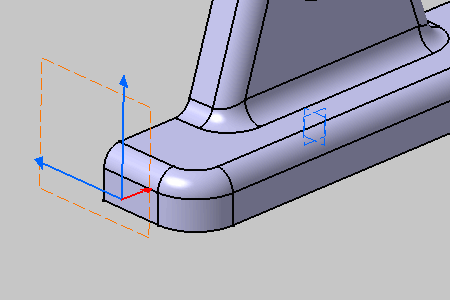
The front view normal is reversed.
When the view annotation plane is created on an axis system, the Invert
Normal command is not available because the view annotation plane by
default takes the axis system orientation.
