-
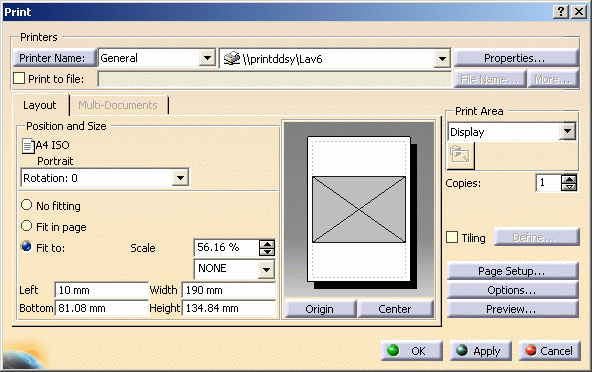
Select File > Print (or press CTRL+P) to display the Print dialog box:

-
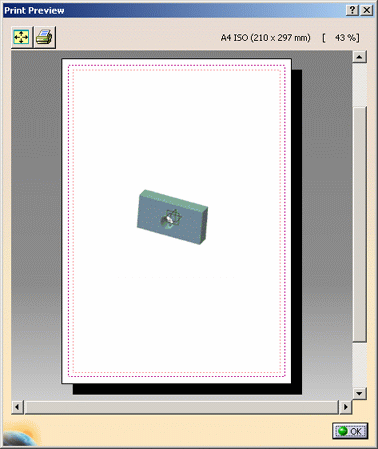
Click Preview... to display the Print Preview window:
When previewing documents with a Rendering mode set to Rasterization, a progress bar might appear before the Print Preview window opens. 
Note that when generating HLR for assemblies containing clashing bodies, some geometrical elements may not be generated. For more information, refer to the HLR topic. -
You can click Fit All In
 and use zooming commands inside the Print Preview
window, or click Quick Print
 to print the document quickly.
 -
You can also zoom up or down by pressing and holding down the middle mouse button, then clicking the left mouse button and drag (still holding down the middle mouse button).
The percentage of the real size is displayed top right as you zoom. For example, if you want to display the document in real size, zoom to reach 100%.
More about the Print Preview
HPGL, HP-GL2 and PostScript
The preview of HPGL, HP-GL2 and PostScript documents generated by V5 may look different from one release to another whereas the printed result will be identical. Therefore, if you need to compare two files generated on two different releases, we recommend that you use a printed output and not a preview image. Previewing such files is relevant only for checking the file content.
Line thickness
Line thickness is not processed identically when visualizing and when printing a document. For each line thickness defined in mm in the standards of a drawing document or in the default thickness parameters, a corresponding thickness in pixels is associated:
- When displaying the document on screen, the width used is the one defined in pixels. When printing the document on paper, the width used is the one in mm.
- When previewing the document, an alternate pixel thickness is used: one pixel every 0.3 mm. This alternate thickness is closer to the paper mm thickness than the usual pixel thickness used for display. For instance, if internal edges of a model are defined with a thickness of 0.16 mm and 1 pixel on screen, and external edges have a thickness of 0.2 mm and 2 pixels on screen, then the print preview uses one pixel for both the internal and external edges.
- Tessellation discrepancies may appear between the preview and the print result.
- Linetype and line thickness are displayed in pixels in the Print Preview window and thus, they are different from the print result which is in millimeters.
Regarding markers (such as point symbols), they are always printed with a size of 1.5 mm and this, whatever the zoom you define.
![]()