![]()
In the following scenario, two zones are created, and their contours defined. You can use the Import_Laminate.xls file.
Open the ImportLaminate1.CATPart document.
-
Make sure the Prevent creation of laminates out of Composites parameters check box is not selected.
See Defining the Composites Parameters. -
Double-click any of two zones in the specification tree (Z1 or Z2) to edit it.
The Zone Definition dialog box is displayed.
In the Laminate tab, you can see that no laminate is defined (neither Material nor Direction).
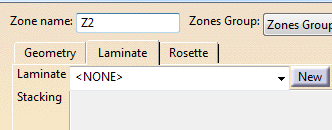
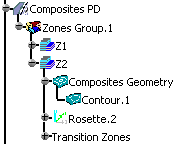
In the specification tree, only the contour attribute is displayed.
-
Click Cancel to close the dialog box.
-
Click Import Laminate
 in the Preliminary Design toolbar.
The Import Laminate Definition dialog box is displayed.
-
Click ... to define the path where the file is stored.
In the File Selection dialog box that is displayed, navigate to the Samples directory and choose the Import_Laminate.xls file.
-
Click Open to import the file.
-
Click OK to import the laminate.
The laminate information contained in the Import_Laminate.xls file has been applied to each zone. -
Double-click any of the two zones in the specification tree (Z1 or Z2) to edit it.
In the Laminate tab, you can see that the laminate corresponds to the one specified in the Import_Laminate.xls file.
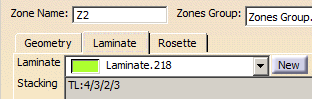
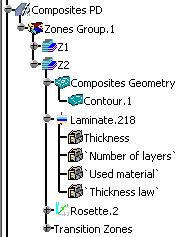
In the specification tree, the Laminate attributes are now displayed under the Laminate node.
![]()