This task deals with:
Creating a Balloon
-
Click the Balloon icon
 from the Annotations toolbar (Text sub-toolbar).
-
Select an element. For example, select the bottom line of the rectangle.
-
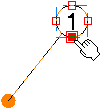
Click to define the balloon anchor point.
")
You can move the pointer so that the anchor point is snapped on the privileged direction. For information on privileged direction, see Arrow Orientation.
")
-
You can enter another string or value as needed. For the purpose of this exercise, leave the pre-entered value as is.

-
Click OK.
You can press Alt key to orient the balloon in vertical direction.
")
|
|
|
Positioning a Balloon on an Existing Annotation
-
Click the Balloon icon
from the Annotations toolbar (Text sub-toolbar). -
Click to define the balloon anchor point.
The balloon leader is placed at the indicated location. -
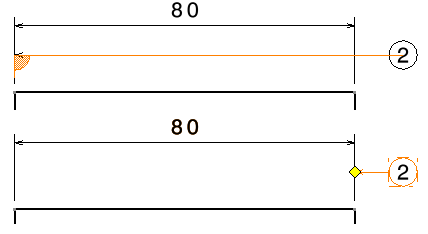
Move the pointer over an existing annotation (in this case, the reference balloon).
The attachment points are displayed.
The nearest attachment point location is highlighted to show that the annotation will be positioned with reference to it if that point is selected. For more information about the attachment points, see Annotation Positioning. -
Click on a desired attachment point to position the balloon.
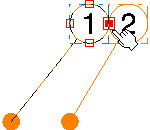
The leader is removed. The Balloon Creation dialog box appears, with the value pre-entered in the box and simultaneously previewed on the drawing. -
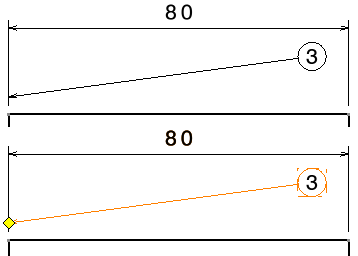
Click OK.
The balloon is created and positioned at the selected attachment point of the reference balloon. Its angle is set to the same value as that of the reference text, and an orientation link is also created between both balloons. If required, you can change the position of the balloon. -
If required, click the balloon and drag to change the position.
The balloon is snapped to the selected position.
About Balloon Positioning
Balloon leader can be positioned on dimension lines with either perpendicular extremity or without it.
|
![]()