This task shows you how to edit the mesh of a rule based surface mesh part.
- The Rule Based Meshing (RBM) product must be installed.
- You must enter the Rule Based Surface Mesh editor, and the mesh must be generated. See Using the Rule Based Surface Mesh Editor.
-
In the Mesh Edition toolbar, click Edit Mesh
 .
.The Edit Mesh dialog box appears, you enter the mesh edition mode, and you access several tools to manually modify mesh edges and mesh faces in order to improve the mesh quality (remove mesh edges, move mesh nodes, split mesh elements, etc.). -
To optimize the shape of neighbor elements when you modify an edge or face, select the Smooth around modifications check box.
-
To combine two triangles of neighbor elements into a quadrangle with a good mesh quality (if possible) when you modify an edge or a face, select the Combine around modifications check box.
-
To swap edges of neighbor elements when you modify an edge or a face, select the Swap around modifications check box.
-
To propagate smoothing modifications from one domain to a neighboring one, select the Propagate to neighbor domains check box.
-
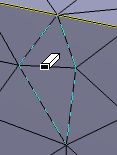
To remove an edge, right-click an edge, and select Remove Edge.
You can also pass your cursor over an edge, and select it when the eraser symbol appears. 

-
To condense nodes, right-click an edge, and select Condense Nodes.
-
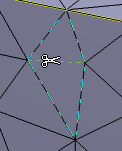
To split a quadrangle element, right-click it, and select Split Element.
You can also pass your cursor over an element, and select it when the scissors symbol appears. 
-
To insert a node, right-click an edge, and select Insert Node.
-
To swap edges, right-click an edge, and select Swap edge.
-
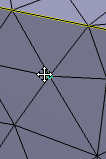
To move a node, pass your cursor over a node, click it, and drag it to the desired location.
The following symbol appears when you pass your cursor over a node: 
-
To launch the algorithm of mesh optimization, click Global Optimization.
-
Click Cancel or OK.