- Be sure that the update mode is Automatic, see Assembly Design, General settings.
-
Click the Symmetry icon
 to move a component.
The Assembly Symmetry Wizard dialog box displays, prompting you to select the mirror plane. -
Select a plane as the reference of the symmetry.
This plane is used to position the assembly. 
Note that you can superimpose the local axes of the two products to make sure that the final products are in front of each other. 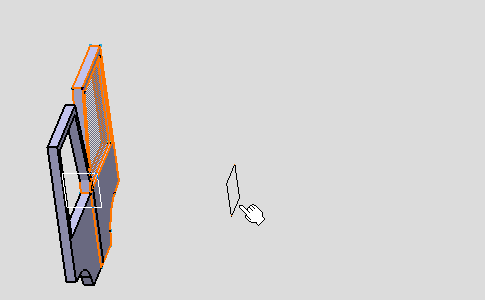
-
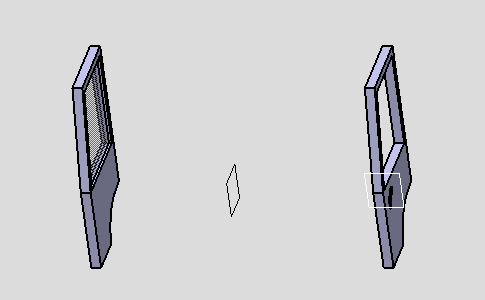
Select the component to be moved.
The selected component is highlighted and the symmetry is previewed. 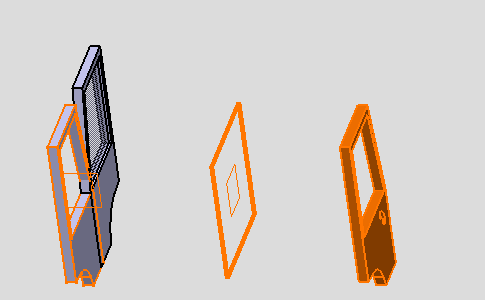
-
Check the option Rotation, same instance and XZ plane.
This plane is specific to component and is used to define the axis for the rotation.
The axis is the intersection between this plane and the first plane you selected (see step 1).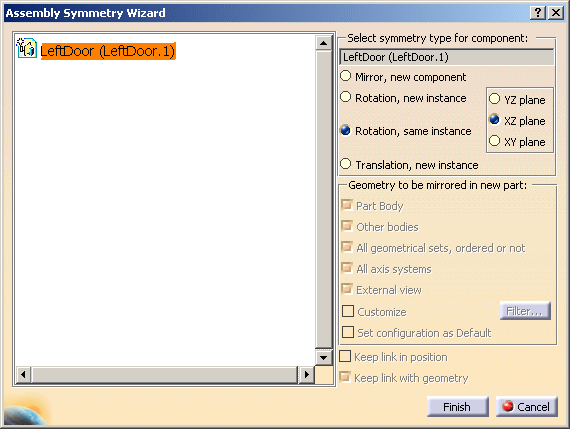
When using the Rotation, same instance option, the associativity options Keep link in position and Keep link with geometry are not available. For more information, see Performing a Symmetry. -
Click Finish to confirm the operation.
The Assembly Symmetry Result window appears, indicating that no component, nor any instance have been created. 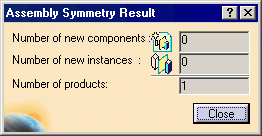
-
Click Close.
The component has been moved in relation to the selected plane.
No geometry has been created so that the bill of material remains unchanged.