 |
The recommended
methodology for working with ENOVIA LCA is:
|
 |
To ensure
seamless integration:
- You must have both a CATIA V5 and ENOVIA LCA session running.
- In the Product Structure workbench of CATIA V5, click the Connect
to Enovia LCA
 icon to establish the connection between CATIA V5 and ENOVIA LCA.
|
| |
Creating a Product in ENOVIA
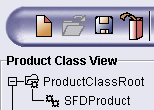
At the top level of the ENOVIA product hierarchy is the product class
root. This is the highest entity in a product structure and is used to
group products. Products can be created directly under this level or
under an intermediate level called the product class depending on how you
want to structure your data. It is not necessary to create product
classes, but the product class root and product must always exist. This
is the product that will be sent to CATIA and is mapped to the CATIA
document root.

-
In the ENOVIA home page,
open the Engineering Life Cycle folder and double-click the Product
Classes folder.
-
In the Product Class
browser, click the New Product Class Root
 icon
in the topmost toolbar. icon
in the topmost toolbar.
-
Enter a meaningful name
for your product class root in the Product Class ID field and then
click Add.
-
Right-click the product
class root you have just created and select New -> Product
from the contextual menu.
-
Enter a meaningful name
for your product in the Product ID field and then click Add.
-
Don't forget to click
the Save icon in the topmost toolbar to save the structure in ENOVIA.
 |
| |
Sending an ENOVIA Product to CATIA
-
Right-click the ENOVIA product and select Send to
-> CATIA V5 from the contextual menu.
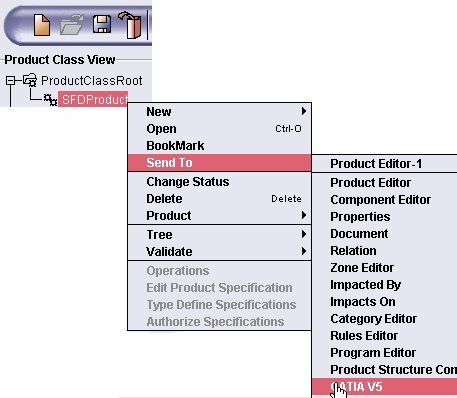
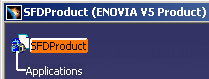
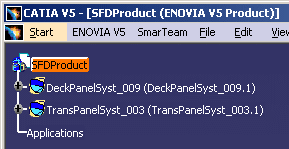
This is what you see in CATIA: the ENOVIA product is mapped to the
CATIA document root.
Note: You also need to send any existing workpackages you need from
ENOVIA. If you send a workpackage, the product is also sent - you do not
need to send both. |
| |
Saving CATIA Data in ENOVIA
-
In the Product Structure workbench of CATIA V5, click
the Save Data in ENOVIA LCA Server... icon in the ENOVIA LCA
toolbar.
| The Save in ENOVIA V5 dialog box appears showing objects to
be saved and set to the correct save mode and save options. The
dialog box below shows Structure Functional Design objects.
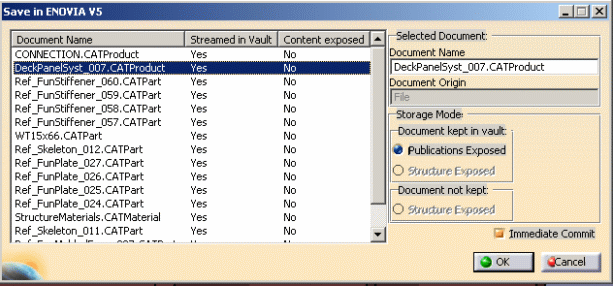 |
-
Click OK in the dialog box.
A Save in ENOVIA V5 progress bar lets you monitor the progress of the
operation.
|
| |
In ENOVIA LCA:
- The Structure Functional Design panel system, and Ship
Structure Detail Design block scheme and paneling system are each
saved as one document.
- All Structure Preliminary Layout items created under the
CATIA root and any new components are saved in Explode mode; new
products are saved in Workpackage mode.
No doubt you will need to refresh the ENOVIA product structure to view
the data you have just saved.
 |
| |
If the CATIA Document Root is Not an ENOVIA Product
- Save your work temporarily.
- Create a product class root and product in ENOVIA.
- Send the ENOVIA product to CATIA.
- Insert the components (Insert -> Existing Component)
containing the work you saved temporarily above.
- Save your work in ENOVIA.
|
 |
For more
information, see the CATIA / ENOVIA Interoperability User's Guide
and the appropriate ENOVIA LCA guide. |
|
 |