|
-
With the 3D session open, determine where you will be
placing slots.
-
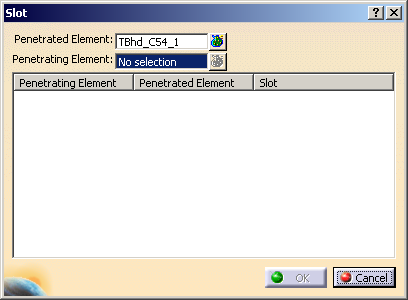
Click the Slot button
 . .
| The Slot
dialog box appears. |
-
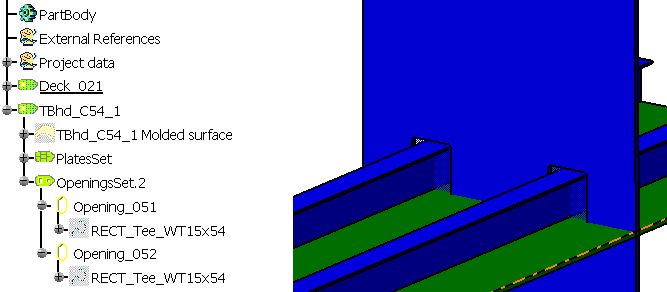
Select one or more plates in the 3D session.
When you select a plate, it is highlighted in the 3D session, and
displays in the Penetrated Element box. In the example below,
the plate is the transversal bulkhead.
-
Click in the Penetrating Element
box and select stiffeners in the 3D session.
-
To place a slot, select and right click one or more
Penetrating Elements, then select Define
Slot.
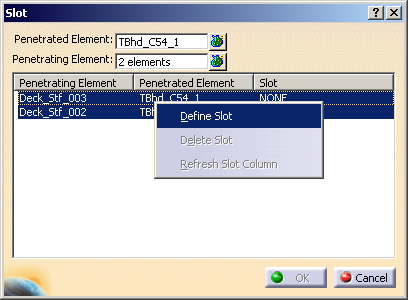
| The other Slot dialog box appears. |
|
-
In the Slot dialog box, select a type of slot from the
Slot list.
The image and the public parameters of the selected slot appear in the
dialog box. You can modify these parameters.
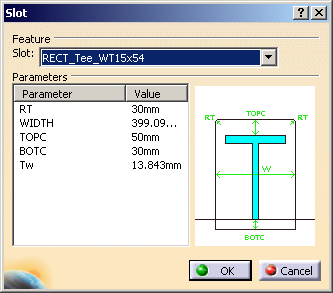
Click OK in the slot dialog box. |
-
As the slots are processed, the first Slot dialog box
redisplays.
When the processing completes, the defined slots display under the
Slot column for
each of the penetrating elements selected.
-
Click OK to close the dialog box.
The built-in slots are created in the 3D part.
|