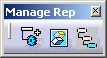
Manage Representation toolbar:
You do not need to open the whole product tree of your assembly each time you want to modify a design or update product structure of sub-assemblies. Attach and Activate Representation of the assembly allows you to visualize your work in the global context of the assembly.
Loading the complete product structure along with its geometry in the CATIA session is not necessary, this makes the product navigation easier and more efficient.
The Manage Rep toolbar has the following options:
Attach Representation
-
Open a SmarTeam assembly. For example, Product1.
-
Select the root product and from the Manage Rep toolbar, click the Attach Representation
 icon.
icon.
The root product icon changes to and the Representation gets attached to the root product. The
Representation by default has the same name of the product along with
the _.cgr suffix.
and the Representation gets attached to the root product. The
Representation by default has the same name of the product along with
the _.cgr suffix.
Note: You cannot rename the default name of the Representation file. -
To verify whether the Representation is created, select the root product, and from the File menu, select Desk....
The Representation with the icon is attached to the root product.

Note: The representation is attached by default if Do not activate default shapes on open is clear in Tools > Options > Product Structure > Product Visualization.
Activate/Deactivate Representation
-
Attach a Representation to a Product as mentioned in Attach Representation.
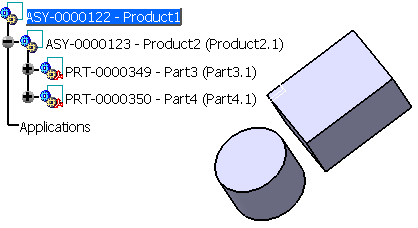
In this example, Representation is attached to the root Product1 and the Part3 and Part4 are loaded and are visible. To understand the Activate and Deactivate functions in a better way, you can unload all the parts and its geometry. -
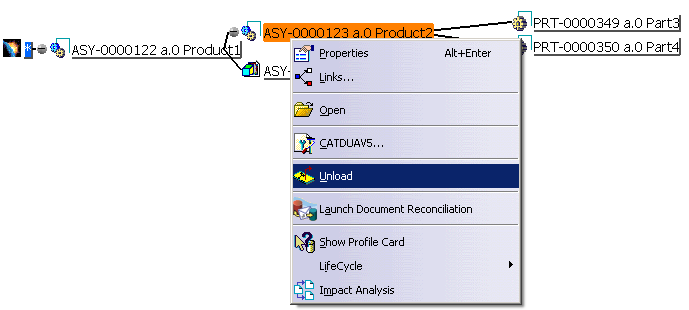
From the File menu, click Desk....
The root assembly and the sub assembly appears along with the Parts. -
Right-click the product you want to unload, and click Unload.
The dialog box List of all documents about to be unloaded appears. -
Click OK to validate the list of the documents to unload.
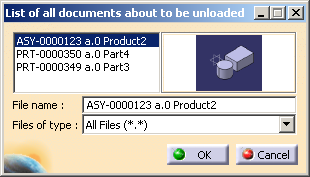
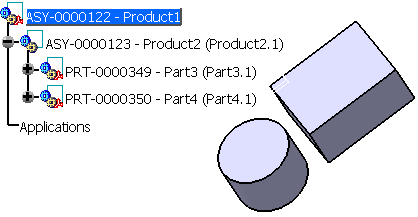
The product and its Parts get unloaded.

In the CATIA session, you can still view the Representation, whereas the Part and its geometry is unloaded.
-
To deactivate the Representation, from the Manage Rep toolbar, click the Activate/Deactivate Representation
 icon.
icon.
The Representation gets deactivated and the icon of the product changes to as
shown below.
as
shown below.
-
To activate the Representation, from the Manage Rep toolbar, click the Activate/Deactivate Representation
icon.
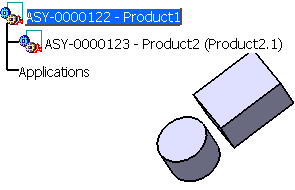
The Representation gets activated.
Deactivate Parents Representations
-
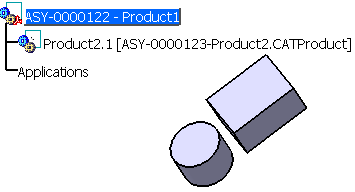
Open a product with some attached Representations.
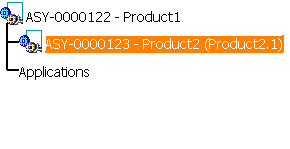
For example, in the following assembly, both the parent and the sub product have Representation.
-
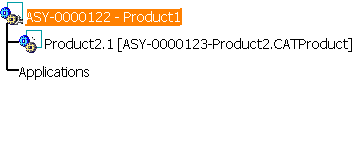
Select the sub product and from the Manage Rep toolbar, click the Deactivate Parents Representation
 icon.
icon.
The Representations of the sub product and the parent products get deactivated and appear with the
icons.
To activate the Representation for the product, select the product and from the Manage Rep toolbar, click the Activate/Deactivate Representation
icon.
- Manage Representation toolbar is available only for the assemblies which are saved in SmarTeam.
- You do not need to update the representation at each SmarTeam-Save
manually as it is done automatically.
When a representation is attached this way, it follows the life cycle of its associated Product, which means it should be modified or checked-out whenever the Product is modified or checked-out.