Concept
Using the SmarTeam 3D Live Open In Catia functionality, a 3D Live user can load specific parts/products from an assembly in a CATIA session. In order to work, the instances information of the assembly must be stored in the SmarTeam database. After the information is stored, CATIA can provide SmarTeam with this information when saving an assembly. However, the instances information of assemblies that were already saved in SmarTeam with previous releases is not stored. This functionality provides a tool to save the instances information of several CATIA products selected in SmarTeam by the user. The tool may be automated to run on the entire database.
For each CATIA Product selected by the user in SmarTeam, the links between the corresponding CATDocument file and its children are updated with the instances information (instance name + positioning matrix + instance activity). The pre-existing information already stored in SmarTeam before the operation on this item remains unchanged.
The process eventually goes on through the item’s children if this operation is specified when the operation is launched.
Before the implementation of this functionality, the user had to manually check out the assembly from SmarTeam, open it in CATIA, make a modification and save it again to store the instances information. This functionality allows:
- Automation of this process
- Process of several assemblies in one loop
Procedure
In order to implement this functionality the following steps must be performed:
Add the function to the contextual menu
To run the batch, add the script to the SmarTeam User Defined Tools Menu as described below. This operation has to be done only the first time the script is run:
- In the SmarTeam Script Maintenance tool, select CATIA Product from the Documents class. In the right pane, open the User Defined tab.
- In the Operation column add a key: Save Instances.
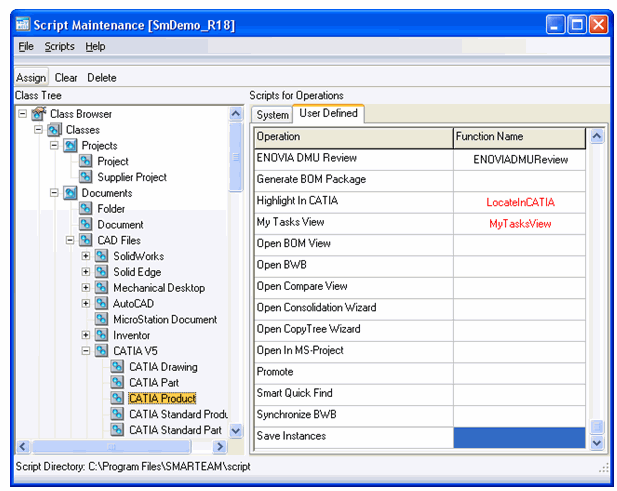
- Double-click in the Function Name cell of the Save Instances operation. The Script Browser window opens.
- In the File Name column, select SaveInstances.bs.
- In the Functions column, select SaveInstances.
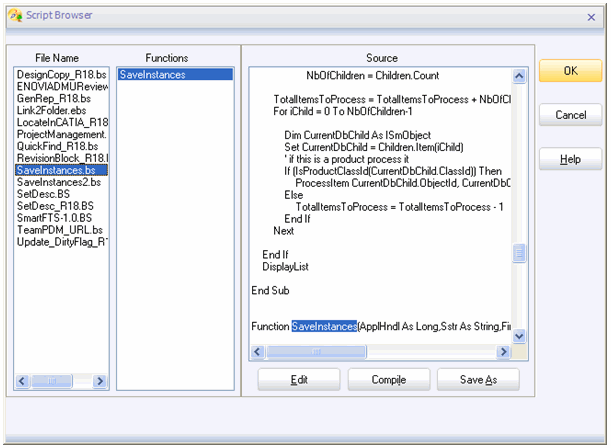
- After clicking OK, the SaveInstance script is hooked to the database.
Set the environment
- Launch the SmarTeam System Configuration Editor (see the SmarTeam - Foundation Administration Guide for details).
- Search for the CATIA application.
- Set the key CATIA.SaveInstanceData to TRUE.
- Click the Save Changes button to confirm the changes.
Run the script
Prerequisites
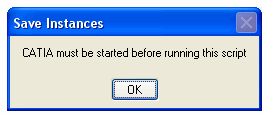
- CATIA must be running.
If CATIA is not started, the following error message appear and the
script will exit:
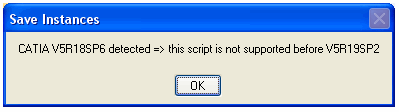
- The CATIA version must be V5R19 SP2 or above. If this is not the
case, the following error message appear and the script will exit:
- If CATIA is not connected to SmarTeam, the batch will handle this (using the currently running SmarTeam session).
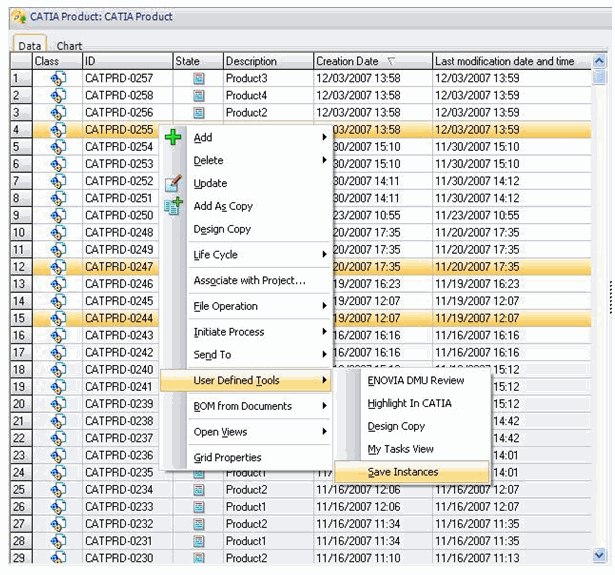
To run the script:
- Select the checked in CATIA Products whose instances information you want to save.
- Right-click to open the contextual menu, and then select User Defined Tools> Save Instances.
A prompt appears asking whether or not to propagate the operation on to the items children.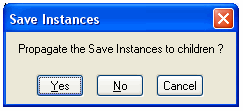
- Click Yes to propagate or No to save the instances of the selected CATIA Product only.
-
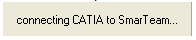
If CATIA is not connected to SmarTeam, the batch connects CATIA to
SmarTeam.
- The batch then creates a temporary directory named
BatchTemp inside the user's temporary directory (the
directory is deleted if it already exists).
This is where the CATIA products will be copied from the vault.
- The process browses each selected CATIA Product and adds it to
the list of items to process. During processing, the following
message appears:
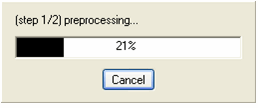
- During the next stage in the process, the following message appears:
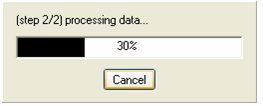
Note: Clicking Cancel at this point stops the process, but the process cannot be undone for all items that have already been processed.
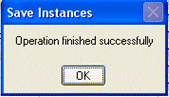
After the operation has finished, the following message appears: