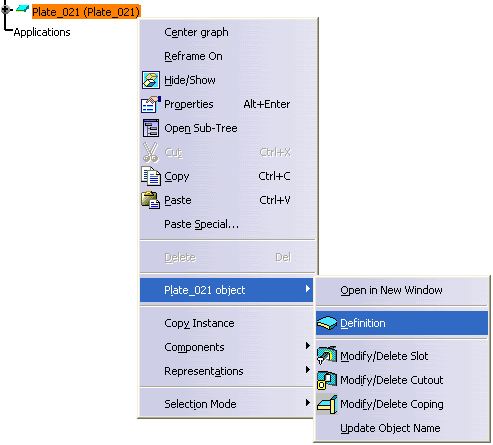
Alternatively, double-click the plate in the specification tree to activate it. Double-click the plate to display the Plate dialog box.
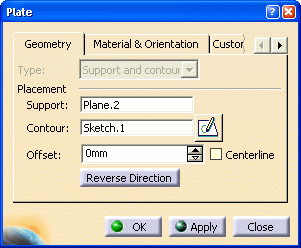
Type: You cannot change the method used for creating the plate. The Type list is unavailable.
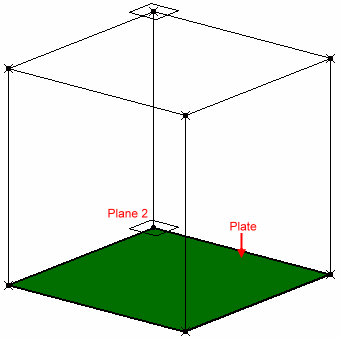
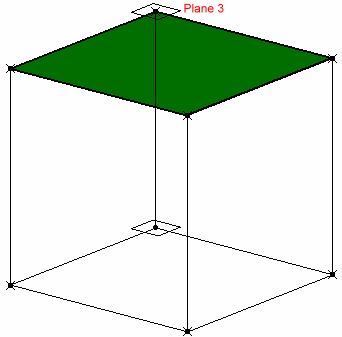
Support: Select the support to which you want to apply the plate. For plates placed using Support, you can modify the support surface. For plates placed using Support and Contour, you can modify the support plane. In the images given below, the support is changed from Plane2 to Plane3.
Contour: You can modify a contour if while creating a plate, you defined a contour using a sketcher. In the Sketcher workbench, delete the existing sketch and create a different profile for the plate using the sketcher tools. Exit the Sketcher workbench.
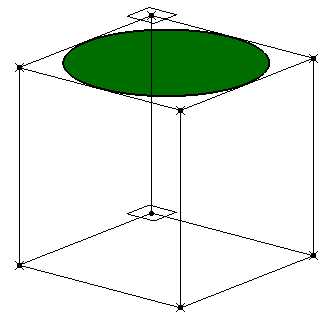
Offset: Modify the offset value to set the distance between the plate and the support. Select the Centerline checkbox to offset the plate by half of its thickness.
Reverse Direction: Click the button or the arrow in the geometry to change the plate direction.