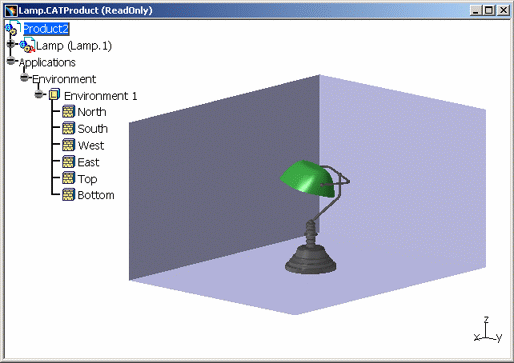
An environment is a simplified simulation of a landscape surrounding your model and directly reflected by your model. It is an efficient way to get a very quick feedback of the illumination behavior of your model and check its integration in its final environment. For example, placing neon lights as a 3D-texture on the ceiling will be used for car body design, while referring to a picture of a Norwegian forest for the walls will produce an impressive marketing image of a newly designed chainsaw.
There are two types in providing a 3D mock-up an intended environment.
-
3D Environment
-
Default Reflection Map
3D Environment
Creating an Environment
-
Click Create Box Environment
 if you want to create an environment with a rectangular shape (to
represent a room for example).
 -
Zoom out then click anywhere in the geometry area to deselect the environment.
-
Position your pointer over the edges then use the green segments
 displayed to resize the
environment walls:
displayed to resize the
environment walls:- drag a segment to resize the walls according to the edges
- press the Shift key and drag a segment to resize the walls according to the center.
Editing an Environment
-
Double-click
the environment in the specification tree to edit it.
Depending on the type of environment created, the following dialog boxes appear:
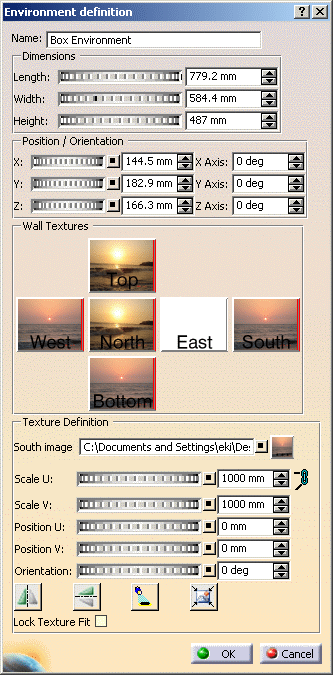
- For a box environment:
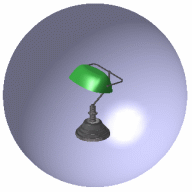
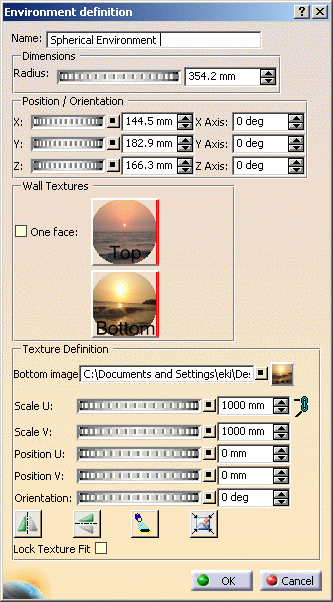
- For a spherical environment:
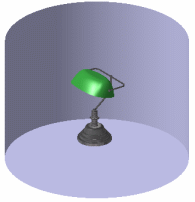
- For a cylindrical environment:
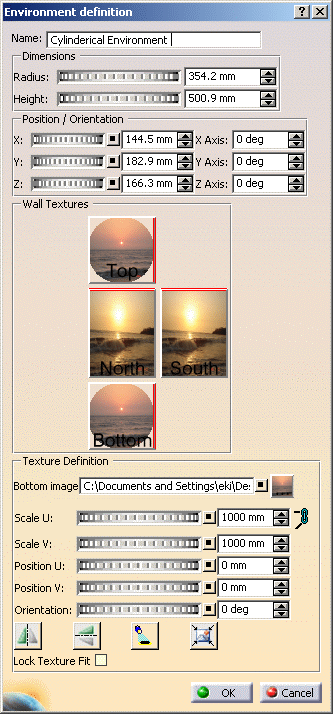

The options available in the dialog boxes are as follows: - Environment Name: You can specify the environment name in this box.
-
Dimensions:
- For box environment: Use the slider, type the value, or use the arrows to change the Length, Width, and Height.
- For spherical environment: Use the slider, type the value, or use the arrows to change the Radius.
- For cylindrical environment: Use the slider, type the value, or use the arrows to change Radius and Height.
- Position/Orientation: Use the slider, type the value, or use the arrows to change the X, Y, and/or Z position and orientation of the environment.
- Wall
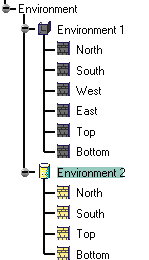
Textures: Select the particular wall and apply a
texture to it by clicking
 under the Texture Definition section.
Click
 to reset the values. You can preview the wall images and
their positions in the dialog box under the Wall
Texture section.
Selecting the One face check box for the spherical environment disables the bottom face. -
Texture
Definition:
- The Top image field defines the path to the applied wall texture.
- Scale U and Scale V sliders determine how the texture is stretched along u- and v-axes.
- Position U and Position V sliders determine the position of the texture along u- and v-axes. By default, the image is centered.
-
Orientation
defines the rotation of the texture on surfaces.

- The above fields are enabled only after a texture is selected for a wall.
-
Click
 button to resize U and V proportionally.
This is especially useful for square shapes
such as the Floor material.
When this option is activated, the button changes to .
.
-
Flip along U
 :
Inverts the material texture along the U axis.
 -
Flip along V
 :
Inverts the material texture along the V axis.
 -
Enable Shadows
 :
Enables shadow casting on the wall.
 -
Fit All in Wall
 :
Automatically scales the texture in order to fit it in
the wall.
 -
Lock
Texture Fit: Select this check box to prevent
texture fit alteration when modifying the environment
size.
- For a box environment:
- Click OK to close the dialog box.
-
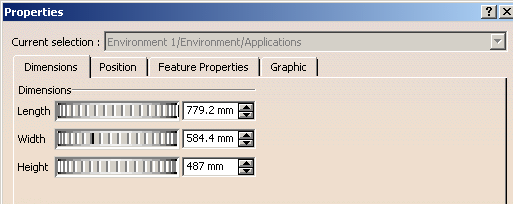
Click the Dimensions
tab to define the environment size. In our example, specify the Length,
Width and Height of the walls in
millimeters.
-
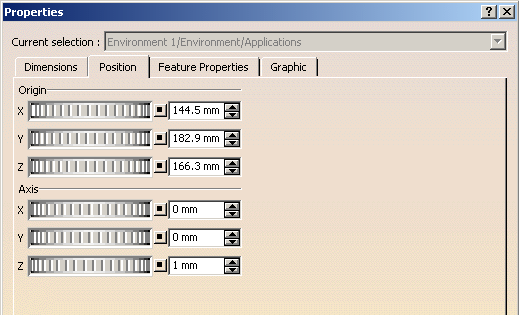
Click the
Position tab to interactively define:
- the environment translation from the origin along the X, Y or Z axis
- the environment translation along the X, Y, or Z
Axis.
- Click the Feature Properties tab to obtain general information on the currently selected environment, e.g. its name, its creation date, etc.
Default Reflection Map
-
Click Change Reflection Image if you want to map an image for reflection on the 3D mock-up. A dialog box is displayed allowing you to change the choose the default Reflection map.
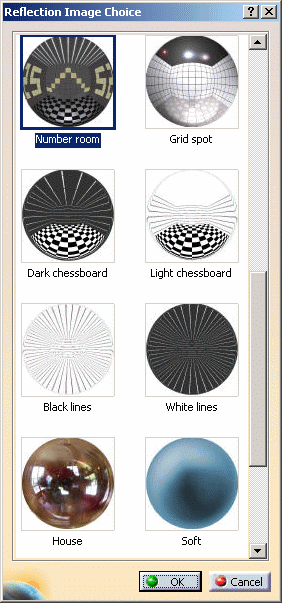
- Select the required image from the dialog box.
- Click OK. Default Reflection Mapping is done on the 3D mock-up.
-
Right-click on applied material in specification tree to visualize
material properties of the 3D mock-up.
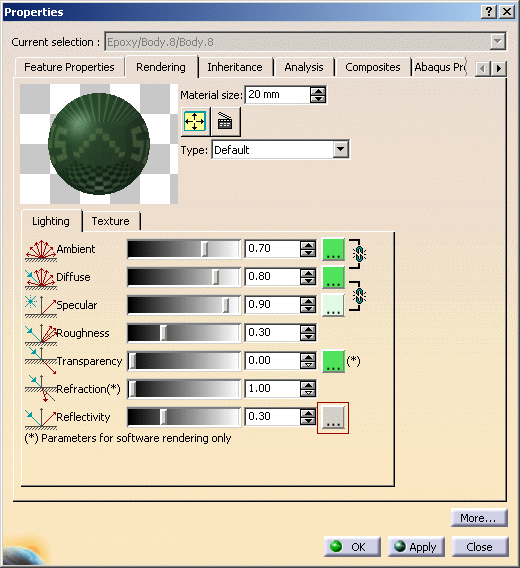
- Click
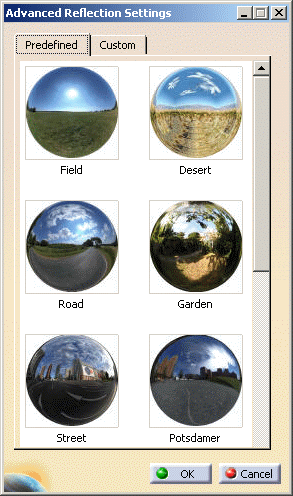
 in Reflectivity a dialog
box with two tabs will be displayed. The Predefined tab
displays the predefined environment maps and the Custom tab
displays current existing custom panel.
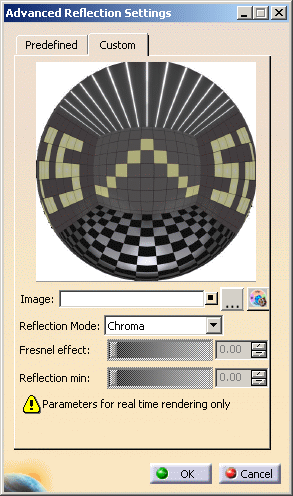
- Custom:
- You can select an image of your choice for reflection.
- You can modify the Fresnel effect (Non-Linear reflection).
- You can build a new image with surrounding images with the environmental image generator.
- Click OK to close the dialog box.
![]()
