Select Start > Mechanical Design > 2D Layout for 3D Design to open the layout in the 2D window, alongside the 3D window.
In the Visualization toolbar, activate the
Cutting Plane
![]() and the Display Backgrounds as Specified for Each View
and the Display Backgrounds as Specified for Each View
![]() icons.
icons.
-
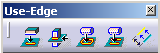
Click the Project 3D Silhouette Edges icon
 in the 3D Geometry toolbar (Use-edge sub-toolbar).
Note: The silhouette edge will be projected in the current view.
-
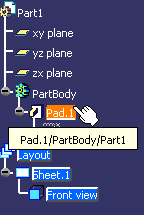
Select a feature (a pad for example) in the specification tree, whose silhouette edges you want to project.
Note: You can also select the required input data directly in 3D.
The silhouette edge is projected onto the front view plane. The Mark.1 and Mark.2 nodes are added in the specification tree for the pad and the hole respectively.
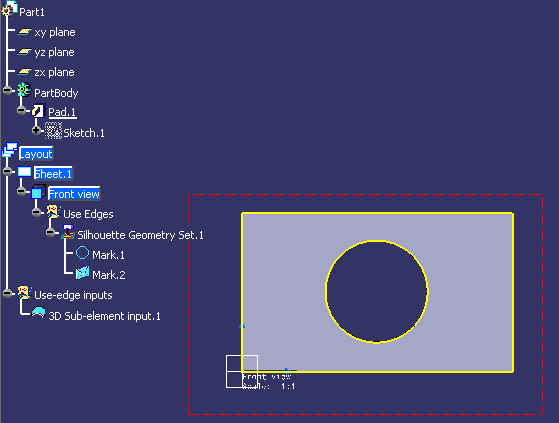
Note: The silhouette edge is yellow if it is associative with the 3D. -
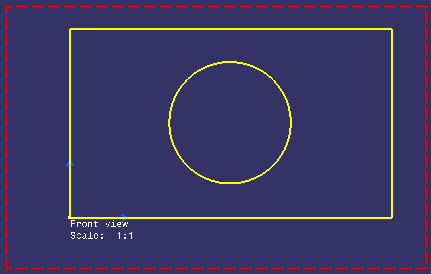
Optionally, deactivate Display Backgrounds as Specified for Each View
 to view the projected silhouette edge without the 3D background.
![]()