Managing the Visualization and the Selection of Elements

This task shows you how to use the view tool to visualize and select elements on the base mesh.
 

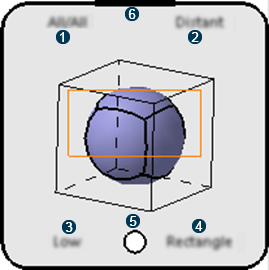
Display the View Tool

  You can expand or collapse the view tool.
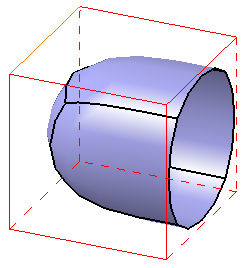
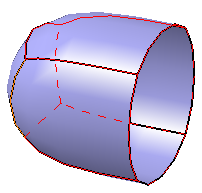
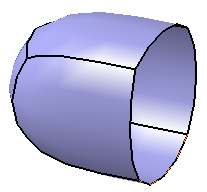
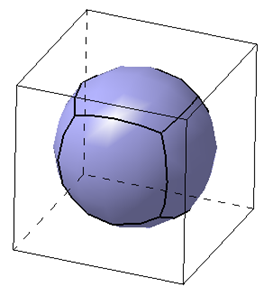
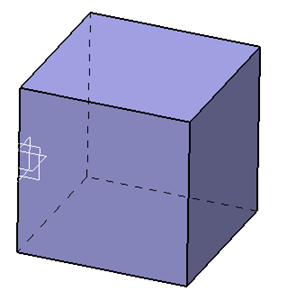
Create a 3D shape containing a subdivision surface.
  1. Hover over the thumbnail at the lower-right corner of the screen.
    It expands and shows all the available options. It can be scaled using the resizing handle.


    1 Viewing and Select Elements
    2 Working Directly on the Surface
    3 Previewing the Base Mesh
    4 Selecting Elements using Trap
    5 Moves the tool
    6 Resizing handle
  2. Move away the pointer from the thumbnail to collapse the tool.


View and Select Elements

  You can view and select elements as required.

View and select All   
View all and select front   
View and select front   

  If Show hidden lines in dashed lines check box is cleared, the hidden lines are displayed with the same settings as the base mesh elements defined in Tools > Options > Shape > Imagine & Shape > Display tab, under Base Mesh.
 

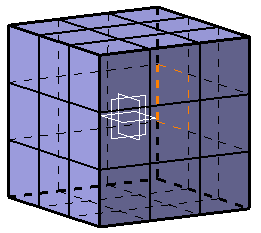
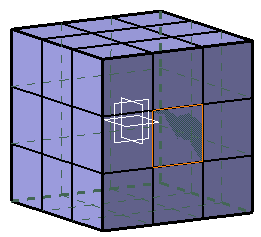
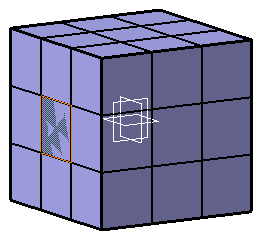
Work Directly on the Surface

  You can choose to work directly on or near the subdivision surface when modifying it.
  1. Select one or more vertices and move the selected vertices along their own local normal.
  2. Select one of the following options:

    Distant base-mesh
    Applies the modifications near the surface.
    Projected base-mesh  
    Applies the modifications on the surface.
    Hidden base-mesh  
    Hides the base mesh.
 

Preview the Base Mesh

  You can manage the level of preview of the base mesh to increase either the performance or the quality of the preview.

Select one of the following options:

High Preview  
Gives a preview closest to the final result but a very low performance. It is not advised on big models.
Low Preview  
Gives the best quality / performance ratio.
Polygonal Preview  
Gives a preview corresponding to the base mesh and enables you to have the fastest possible computation.
 

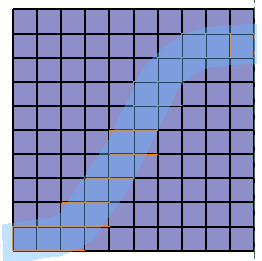
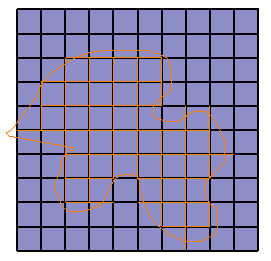
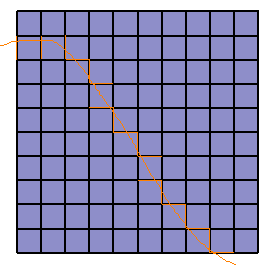
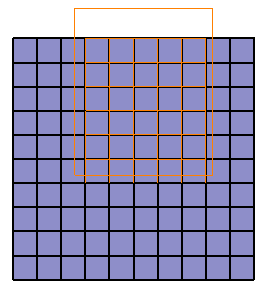
Select Elements using a Trap

  You can select elements using different types of traps.
  1. Select one of the following options:

    Brush trap
    Selects elements inside a zone defined by a brush.
      You can define the brush thickness: when you start the selection, a circular handle appears. Move the pointer over it and drag to modify the radius. 
    Lasso trap 
    Selects elements inside a zone defined by a drawing.
    Stroke trap
    Selects elements by intersecting edges or faces. Vertices closest to the selection plane are added to the selection.
    Rectangular trap 
    Selects elements inside a rectangular frame defined by two diagonal points.

  2. Press Shift and click to start drawing the trap.
    Press Shift + Ctrl to add or remove a trap selection.
  3. Release Shift to close the trap.