-
From the Styling Surfaces toolbar, click Bevel
 .
. -
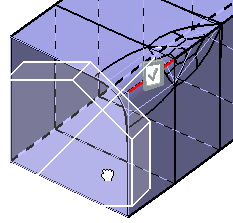
Select the subdivision surface.
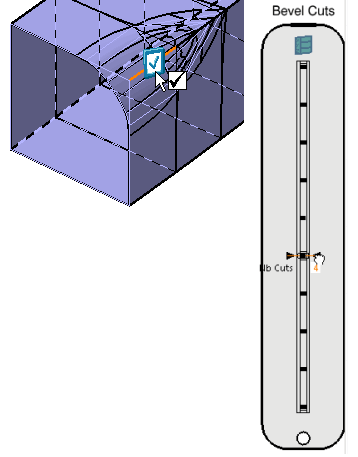
The Tools Palette appears:

- Linear Bevel
 : Creates a linear bevel.

You can also access this command by pressing Ctrl+Shift+W.
- Convex Bevel
 : Creates a convex bevel.
You can also access this command by pressing Ctrl+Shift+U.
- Concave Bevel
 : Creates a concave
bevel.
: Creates a concave
bevel.You can also access this command by pressing Ctrl+Shift+V.
- Attraction
 : Modifies the weight.
You can also access this command by pressing Ctrl+Shift+F.
-
Smooth/ Sharp Attraction
 : Defines the attraction mode. This icon has two
states: the default state gives a sharp edge and Smooth
Attraction
: Defines the attraction mode. This icon has two
states: the default state gives a sharp edge and Smooth
Attraction
 gives a smooth edge.
You can also access this command by pressing Ctrl+Shift+H.
- Corner Type
 : Defines the corner type.
You can also access this command by pressing Ctrl+Shift+K.
- Propagation
 : Propagate edges.
You can also access this command by pressing Alt+Ctrl+P.
- Apply
 : Applies the command.
A slider is displayed at the right of the work area to let you define the number of cuts.
- Linear Bevel
-
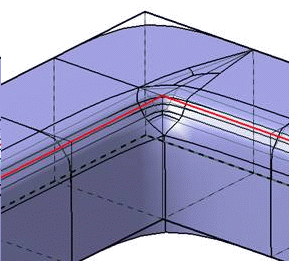
Select the required bevel type: linear, convex, or concave.
-
Select an edge.
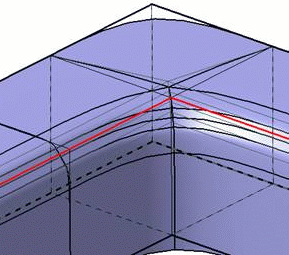
-
Click and move the pointer to modify the bevel size.
-
Modify the number of cuts using the slider.
-
Click Apply
and select another edge.
In the Modification toolbar, click Multi-Selection  to validate the current operation and select the next
surface to bevel without exiting the
Bevel
command.
to validate the current operation and select the next
surface to bevel without exiting the
Bevel
command.
You can also press Ctrl + Space to validate the current operation and select the next face to create a bevel. -
From the Tools Palette, select Corner Type
to manage the bevel in a corner.- :
This is the default mode. It creates the
bevel with a minimum of triangular faces but more
deformations.
-
 :
This mode creates bevel with less deformation
but more triangular faces.
:
This mode creates bevel with less deformation
but more triangular faces.
-
-
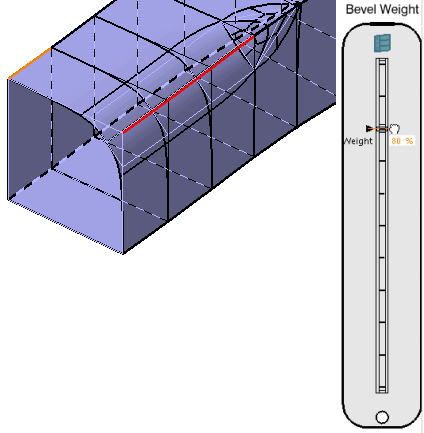
From the Tools Palette, click Attraction
. -
Use the slider to modify the weight of the bevel.
-
Click Apply
.
The bevel is created.
![]()