This task shows you how to cut a subdivision surface by a plane and remove a side of the subdivision surface.
Open the ModifySurface7.CATPart document.
-
Click Cut by Plane
 in the Styling Surfaces
toolbar.
You can also access this command by pressing ALT+SHIFT+Q. A Tools Palette is displayed:

The following icons let you:
-
 manage the compass,
 -
 reset the plane orientation,
 -
 select the subdivision surface,
 -
 select the plane,
 -
 choose the side to keep,
 -
 translate the plane,
 -
 rotate the plane,
 -
 show the resulting mesh,
 -
 apply
the command.
-
-
Click Surface Selection
 .
. -
Select the subdivision surface.
-
Click Plane Selection
 .
. -
Select the plane.
Here we selected the xy plane: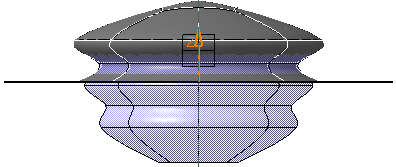
-
Click Surface Selection
 to choose the side to keep.
One click on this icon reverses the side to keep: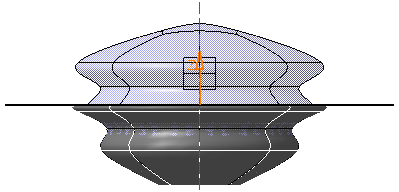
-
Click Plane Translation
 .
. -
Hold down the left-mouse button and drag to translate the plane.
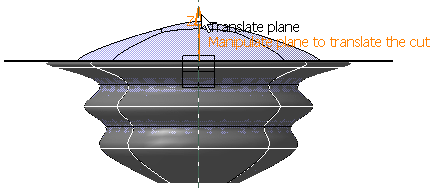
-
Click Plane Rotation
 .
.
Hold down the left-mouse button and drag to rotate the plane.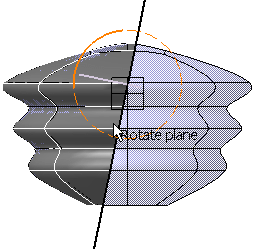
Note: Once the Plane Translation  or Plane Rotation
 options have been selected, two icons appear in the
Tools Palette:
options have been selected, two icons appear in the
Tools Palette:-
 :
this icon lets you use the edition panel and modify exactly
the position of the plane.
Refer to Using Edition for Modification for further information. -
 :
this icon lets you set the attenuation during the
manipulation.
Refer to Setting the Attenuation Factor for a Surface for further information.
-
-
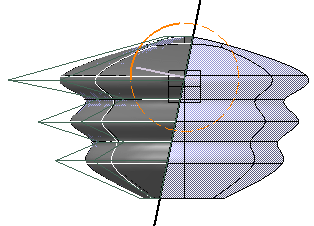
Click Show Resulting Mesh
 to visualize the base mesh.
-
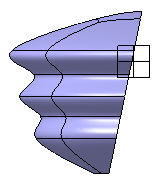
Click Apply (Enter)
 to validate the command.

In the Modification toolbar, click Multi-Selection  to validate the current operation and select the next
surface to cut without exiting the Cut by Plane
 command.
You can also press Ctrl + Space to validate the current operation and select the next surface to cut.
In case of a multiple result, it is not possible to cut the surface: 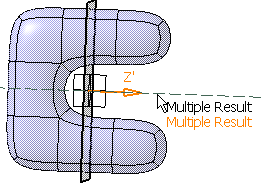
![]()