-
Click Extrude
 in Creation toolbar (Sweep Primitives
sub-toolbar).
in Creation toolbar (Sweep Primitives
sub-toolbar).
You can also access this command by pressing ALT+SHIFT+Z. The following Tools Palette along with screen for curve creation are displayed.

-
 reframe on the drawing view
-
 selecting new drawing plane
-
 creating primitive profiles
-
 creating a curve by adding points to
it (this icon is selected by default)
creating a curve by adding points to
it (this icon is selected by default)
-
 manipulating the points
-
 aligning the points
-
 adding weight to the points
-
 erasing a point
-
 picking a point
-
 closing the curve
-
 activating the apply mode
-
Creating a Curve
-
Click Add Point
to begin drawing the curve.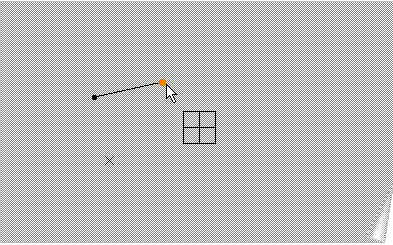
-
Click to add points and draw the curve. The entire curve is drawn so that all options available in Tools Palette can be described in this section.
You can also access this command by pressing CTRL+SHIFT+S. 
- The created points define the polygon of the curve of subdivisions.
- The surface can be previewed as the points are created.
- When a point is added, it can be moved as long as you keep the left mouse button pressed.
Selecting New Drawing Plane
-
Click Plane Selection
to change the drawing plane. The Tools Palette is modified to this only one icon,
that is selected by default. Select the new plane.
Adding New Points
-
Add a new point on existing curve by clicking the left mouse button at the required position. The point can be previewed on the existing curve.
Once the point is created the surface is immediately previewed.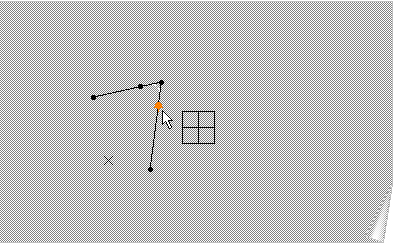
Manipulating the Points
-
Click Move Point
to move the point. The point closest to the mouse is manipulated.You can also access this command by pressing CTRL+SHIFT+M. When this command is activated, four new icons appear in the Tools Palette.
They let you:-
 set the attenuation factor.
For more information about setting attenuation, refer to Setting the Attenuation Factor for a Surface. -
 allow the selection of edges for manipulation.
 -
") allow the selection of point for manipulation.
allow the selection of point for manipulation. -
 move the point or edge using the manipulator. This icon is
not selected by default, i.e. the manipulators are in OFF
state. When selected, i.e. manipulators are in ON state, its
display is modified to
move the point or edge using the manipulator. This icon is
not selected by default, i.e. the manipulators are in OFF
state. When selected, i.e. manipulators are in ON state, its
display is modified to
 .
.

- If a single point is selected, the manipulator is positioned on the point. If a single edge is selected, the manipulator is positioned at the center of the edge.
- If multiple points or edges are selected, the manipulator is positioned on the barycenter of the selected points.
- To move the point, hold down the left-mouse button and drag the manipulator to the desired location.
- The direction of displacement is defined by the axis selected on the manipulator. For horizontal displacement, select the X' axis, for vertical displacement, select the Y' axis and for planar displacement select the X'Y' arc.
-
-
To move the point, select the point and either:
-
manipulate keeping the left-mouse button pressed.
-
click Manipulator On/Off
to activate the ON state and drag the manipulator to move the point.
Single point selected 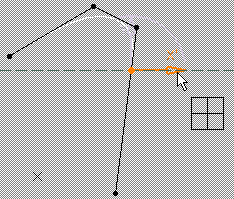
Multiple points selected 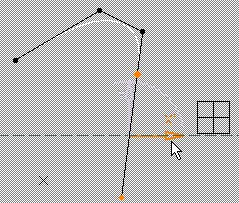
Multiple edges selected 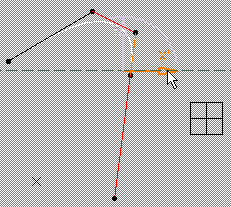
-
-
(Optional) Select the point and click Pick a Point
.
You can select a previously created point.
The selected point is moved to the projection of the picked point in the drawing plane.Selection of a point 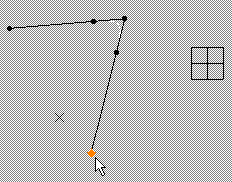
Picking of an existing point 
Manipulation of the selected point 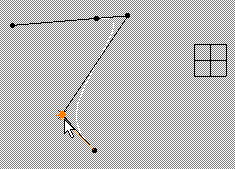
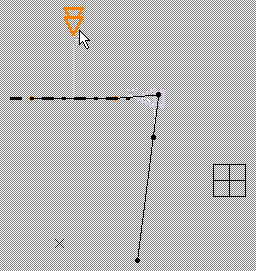
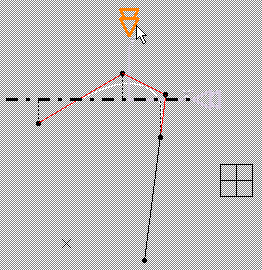
Aligning the Points
-
Click Align Point
to align a point horizontally and vertically.You can also access this command by pressing CTRL+SHIFT+Q. When this command is activated, three new icons appear in the Tools Palette.
They let you:-
allow the selection of edges for manipulation.
-
allow the selection of point for manipulation.
-
align the point or edge using the manipulator. This icon is
not selected by default, i.e. the manipulators are in OFF
state. When selected, i.e. manipulators are in ON state, its
display is modified to
.
- The alignment using a manipulator is possible when at least two points are selected.
- The manipulator is positioned on the barycenter of the selected points.
- To align, click on the required interactive arrow.
-
-
Move the cursor over the point you want to align. The segment closest to the mouse is highlighted. Horizontal and vertical segments are seen.
-
Click the left mouse button. The point close to the mouse is fixed. The second point moves along the horizontal or vertical segment.
You can see that the point below the selected point has moved up.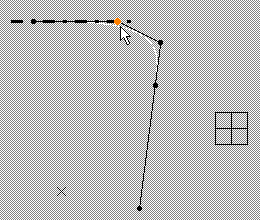
The choice of horizontal or vertical segment is automatic and the chosen direction depends on the smallest angle of rotation.
-
Optional: Select two or more points and click
. -
Click on the interactive arrow to align the point.
For points: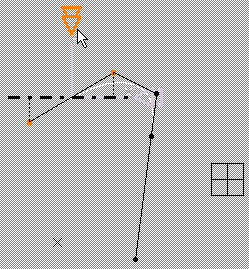
Multiple points selected Manipulation of points For edges:
Multiple edges selected Manipulation of edges
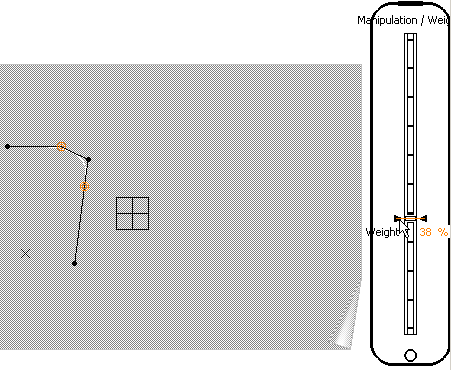
Adding Weight to the Points
-
Click Attraction
to add weight to the point or the edge.
Three new icons are added to the Tools Palette. They let you:-
allow the selection of edges for manipulation.
-
allow the selection of point for manipulation.
-
 define the attraction mode. This icon has
two states: the default state gives a sharp edge and the smooth state
define the attraction mode. This icon has
two states: the default state gives a sharp edge and the smooth state
 (activated when clicking the icon) gives a smooth edge.
You can also access this command by pressing CTRL+SHIFT+F. -
-
Select the point or the edge.
A slider indicating the value of the weight is displayed on the right of the screen and can be changed between 0 and 100. -
Hold the left mouse button and move the mouse to reach the desired value on the weight slider. Release the left mouse button when you are satisfied with the weight added to the surface.
Erasing a Point
-
Click Erase Point
to delete a point or an edge.You can also access this command by pressing CTRL+SHIFT+D. -
Select a point or an edge. The selected element is deleted.
Closing the Curve
-
Click Close Curve
to close the curve. The icon is now changed to
 .
.You can also access this command by pressing CTRL+SHIFT+Y. 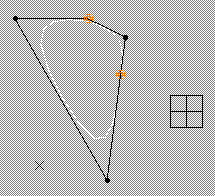
-
Click Close Curve again to open the curve.
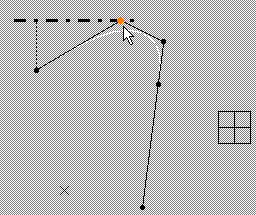
Reframing on Drawing View
-
Click Drawing view
reposition the view to drawing view (the plan).You can also access this command by pressing CTRL+SHIFT+X.
Defining Extrusion Length and Number of Sections
-
Press and hold down the right and middle mouse button to rotate and change the view to see the number of sections and length modification options. The Tools Palette is modified in the appropriate view.

A slider is displayed at the right of the screen to let you define the sections between 0 and 9.
-
You can either:
- drag the slider to the desired value to change
the number of sections:
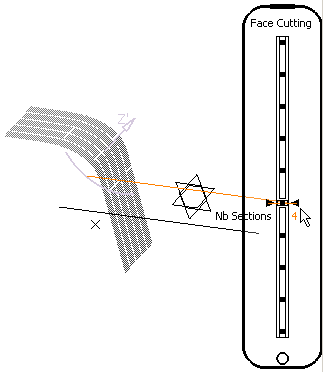
- hold down the left-mouse button and drag either
the start or end Z' manipulator to change the length.
Double-click the Z’ manipulator to get a symmetrical value for both sides of the extrusion. - click Extrusion Edition
 to open the Extrude Data dialog box and enter the
number of sections, start and end sector length values or
use the spinners to change the value. The field dynamically
updates whenever you move the slider and vice-versa.
to open the Extrude Data dialog box and enter the
number of sections, start and end sector length values or
use the spinners to change the value. The field dynamically
updates whenever you move the slider and vice-versa.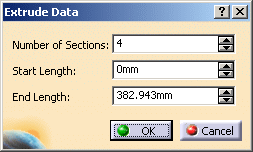
Click OK when done.
You can also access this command by pressing CTRL+SHIFT+X. - drag the slider to the desired value to change
the number of sections:
-
To go back to drawing view (plan), click Drawing view
 .
.
Apply Command
-
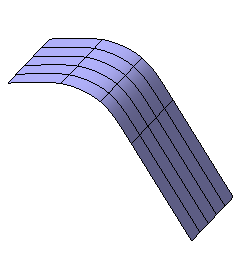
Click Apply
to validate and create the extruded surface.
The Manipulation command along with Tools Palette is automatically activated,
allowing you to manipulate the surface.
command along with Tools Palette is automatically activated,
allowing you to manipulate the surface. The final surface without any manipulation is as seen:
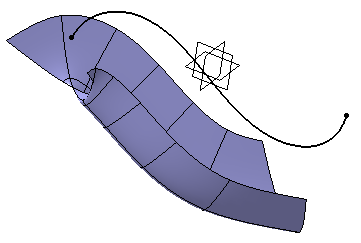
Extruding Along a Guide Curve
-
Click Sketch Curve
 .
. -
Sketch a curve using the left-mouse button.
This is the required guiding curve.
-
Select the guiding curve.
-
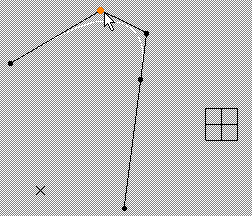
Click Extrude
. -
Click Add Point
to start defining the profile to be extruded.
- The created points define the polygon of the curve of subdivisions.
- The surface can be previewed as the points are created.
- When a point is added, it can be moved by dragging the pointer.
-
Optional: You can also use a primitive curve as the profile. To do so, click
. -
Press and hold down both left and middle buttons to change the view and see the extrusion on the guide.
A slider is displayed at the right of the screen to let you define the cuts from 0 to 9. -
You can modify the limits of the extrusion using the manipulators.
The Tools Palette is modified as:
-
Click Edition
to open the Extrusion
dialog box.You can also access this command by pressing CTRL+SHIFT+E. -
Enter the number of sections of the extrusion surface as well as start and end values or use spinners to change the value and click OK when done.
-
Press Ctrl.
A manipulator appears to let you modify the start and the end profiles.- The manipulator in the center lets you rotate the profile at its start or end.
- The top manipulator lets you apply an affinity at the start or end profile.
- The side manipulator lets you apply an horizontal or vertical symmetry to the profile (on the whole extrusion surface).
- Note that without a guiding curve, the manipulators are
actionable, but ineffective.
-
Click Guide Selection
 .
.You can also access this command by pressing Ctrl+Shift+G. -
Select the curve as the guide curve.

The number of cuts ranges between 0 and 30. -
Click Edition
to open the Pipe Data
dialog box.You can also access this command by pressing CTRL+SHIFT+E. -
Enter the number of sections of the pipe, the start and the end values, or use arrows to change the value and click OK when done.
-
Click Apply
to create the extruded surface.
The Modification command along with the Tools Palette
is automatically activated, allowing you to manipulate the surface.Final Surface without modification:
- You cannot use a pre-existing curve for surface creation.
- The Redo command is not available.
![]()