If it is not displayed, open the Getting_Started1.CATPart document.
-
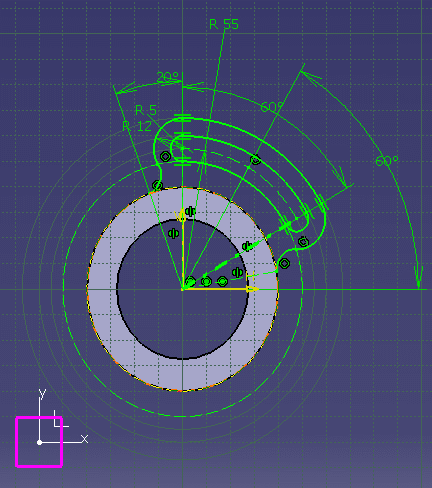
Double-click Sketch.2 from the geometry.
The sketch is displayed in the Sketcher workbench.

-
Select Output.1 from the specification tree to have it highlighted in the geometry area.
This output is based on Line.2.
-
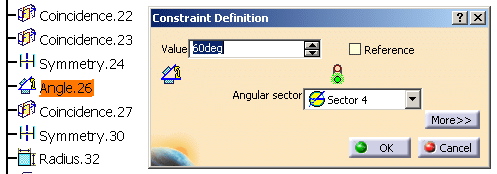
Double-click Angle.26 value in the specification tree to edit its value.

-
In the dialog box that appears, change 60 to 90 deg.
-
Click OK to confirm the new value.
This constraint affects Output.1 orientation.
-
Click Exit Workbench
 in the Workbench toolbar.
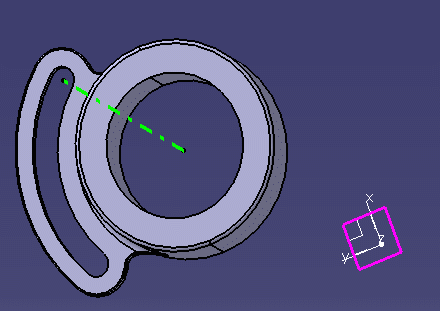
You are now back in the Part Design workbench and the sketch is displayed.

-
Optional:For the output features (including 3D profiles, 3D plane, and 3D axis) with 2D elements as their reference elements, double-click the output feature geometry and select the Edit Output option in the edit feature dialog box of the respective 2D element.
This option is available for the following 2D elements: Line, circle, ellipse, point, spline, parabola, hyperbola, control point.

If a 2D element is used to create several output feature, the Output Select dialog box appears to let you select the required output feature to edit. It lists all the output features linked to that 2D element.