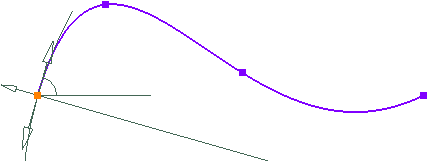
Modifying the Spline Control Points
To change the control points of a spline you can use the graphical manipulators.
-
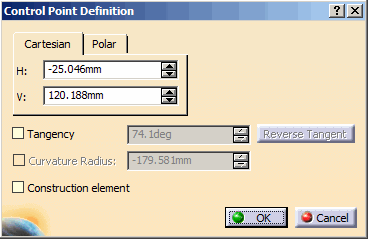
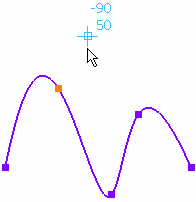
Double-click the control point you want to edit.
The tangency and curvature radius manipulators appear in gray along with the Control Point Definition dialog box.
-
Enter new coordinates in the H (horizontal) and V (vertical) boxes respectively.
-
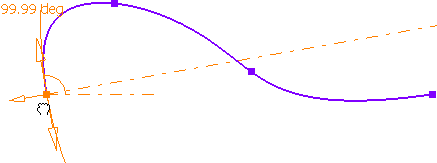
Select the Tangency check box to impose tangency on this control point.
The tangency manipulator is highlighted and the Reverse Tangent button and the Curvature Radius option become available in the dialog box.
The curvature radius computation is dependent on the tangency option. -
Optionally, click Reverse Tangent to reverse the tangent direction.
-
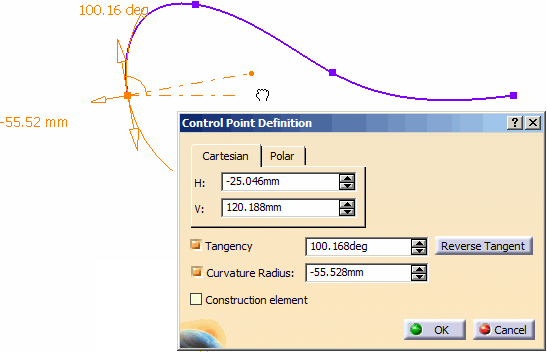
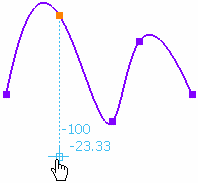
Rotate the tangency manipulator around the control point till you get the desired angle with respect to the H direction of the Sketcher axis system.
The tangency angle value is updated and the Curvature Radius option is selected in the dialog box. Simultaneously, the spline curve is modified and the curvature manipulator is highlighted. Using this manipulator you can change the radius of curvature.
-
Drag the curvature manipulator along the direction perpendicular to the direction of the tangent till you get the desired radius.
The curvature radius value is updated in the dialog box and simultaneously the spline curve is modified.
Both the manipulations are independent of each other. If the radius curvature manipulator is under manipulation, the tangency value remains constant and vice versa for the tangency manipulator. -
Click OK.
The point is moved and an arrow appears on this point to indicate the tangency.
- You can modify the spline shape by selecting a point and then dragging it.
- You can also modify the control point by right-clicking it and selecting CtrlPoint.X object > Edit Tangency-Curvature.
Adding a point
To add a point, you have several possibilities, depending on whether you want to add an existing point, or create the point on the sketch while editing the spline.
-
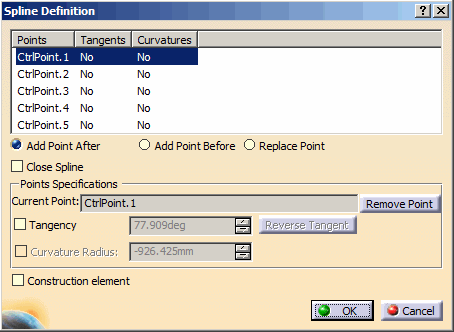
Double-click spline, or go to Edit > Spline.1 object > Definition....
The Spline Definition dialog box appears.
-
To add an existing point (i.e. a point created prior to editing the spline), follow the steps from 3 through 5.
To create a point on the sketch while editing the spline, follow the steps from 6 through 8. -
In the dialog box, select the spline point after or before which you want to add a point. Select CtrlPoint.2 for example.
-
Choose Add Point After or Add Point Before (depending on whether you want to add a point after or before the selected point). Select Add Point After for example.
-
Click on the existing point to add in the spline.
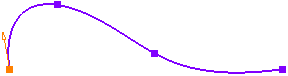
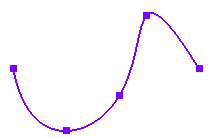
If you proceed as shown below, for example:
You will get this result:
-
In the dialog box, select the spline point after or before which you want to add a point. Select CtrlPoint.2 for example.
-
Choose Add Point After or Add Point Before (depending on whether you want to add a point after or before the selected point). Select Add Point After for example.
-
Click on the sketch, at the location where you want to add the new point.
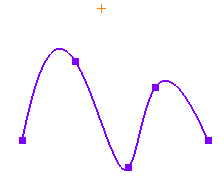
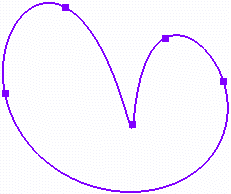
If you proceed as shown below, for example:
You will get this result:
Right-click the spline and select Spline.x object > Add Control Point to directly insert intermediate control points. You can also use Spline.x object > Add Tangency-Curvature command to define the tangency angle and curvature radius of the inserted control point. -
Optionally, select the Construction element check box and click OK.
The spline becomes a construction element. To make it a standard element, clear the Construction element check box in the Spline Definition dialog box.
Replacing a point
-
To replace a point, select the spline point that you want to replace in the dialog box.
-
Select Replace Point, and click on the sketch at the location where you want to add the new point.
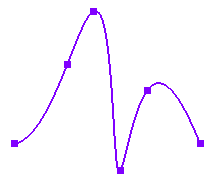
If you proceed as shown below, for example:
You will get this result:
Closing a spline
-
Double-click the spline.
The Spline Definition dialog box appears. -
Select the Close Spline check box to close the spline.
The spline is closed in such a way that it is continuous in curvature at the closure point.
Removing a point
-
Select the point that you want to remove in the Spline Definition dialog box.
-
Click Remove Point.
-
Click OK.
Modifying a Spline
To modify a spline you can modify its control points.
-
Double-click the spline.
The tangency and curvature radius manipulators appear in gray at the first control point along with the Spline Definition dialog box. -
Select the point you want to modify in the Spline Definition dialog box.
-
Select the Tangency check box.
This activates the Curvature Radius option and the Reverse Tangent button. The tangency manipulators get activated and highlighted. -
Follow the steps 4 through 7 as explained in Modifying the Spline Control Points.
The control point is modified and as a result the spline is modified accordingly.The manipulators for corresponding control point are displayed when you move the pointer over the associated control point. When the edition of spline is started, the manipulator is displayed at the first control point, by default. The manipulators remain associated with the previous control point until you move the pointer over other control point belonging to the same spline in edition.