In the Generative Drafting workbench, the view name, scaling factor and view frame are set by default in views. Throughout this section of the Getting Started, we decided not to display view names and scaling factors. To deactivate them, go to Tools > Options > Mechanical Design > Drafting, click on the Layout tab and clear the View name and Scaling factor check boxes.
You can also specify what geometrical and dress-up elements should be generated on views, such as axes, center lines, fillets, 3D points, etc. Still in Tools > Options > Mechanical Design > Drafting, click on the View tab and choose your options in Geometry generation / Dress-up. For example, select the Generate center lines check box, and clear the Generate fillet check box.
-
Click the drawing window to activate it.
-
Click Front View
 in the Views toolbar (Projections sub-toolbar).
 -
Now, in the part window, select the desired planar surface of the 3D part.
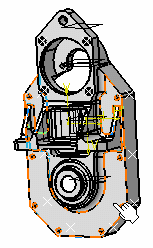
The view orientation manipulator appears, as well as a green frame containing a preview of the view to be created. The manipulator lets you define the location and orientation of the view to be created: top, bottom, left, right or rotated according to a given snapping, or according to a specified rotation angle.
-
Click on the drawing sheet or at the center of the view orientation manipulator to generate the view.
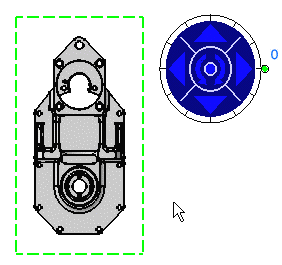
The front view is created.
")