This command creates a symmetry of the plies only.
The
input curves (ramp supports) will not be symmetrized.
-
Click Symmetric Plies
 in the Plies toolbar.
The Plies Symmetry Definition dialog box is displayed:
-
Select Plies Group.1.
Multi-selection of plies or of plies groups is available:
-
Either through
 and the dialog box below:
- Or using Ctrl key.
A contextual menu is available to list the entities selected or to clear the selection.
-
Either through
-
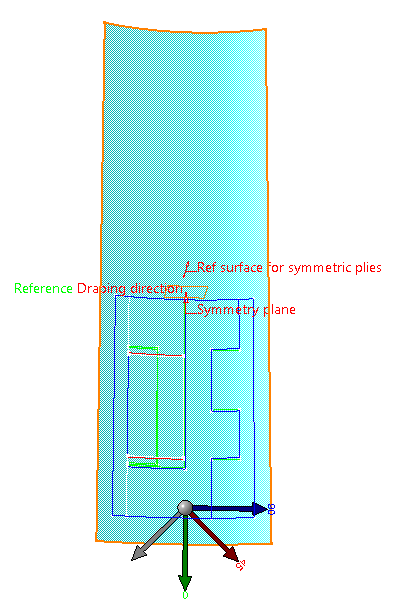
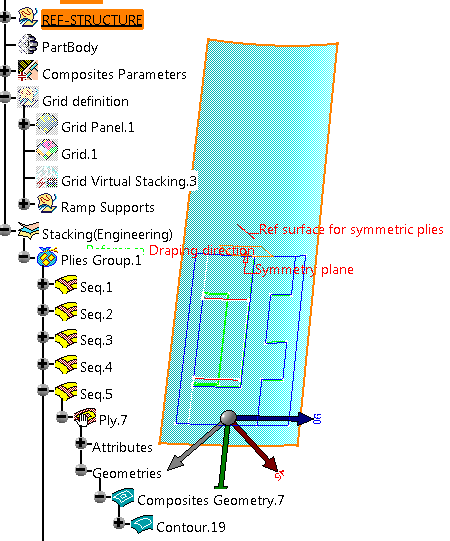
Click No selection in the Symmetry plane field and select Plane.5.
-
Click No selection in the Ref surface for symmetric plies field and select MOLD.
-
The draping direction is displayed in the 3D viewer.
If necessary, click Reverse direction to change the draping direction. -
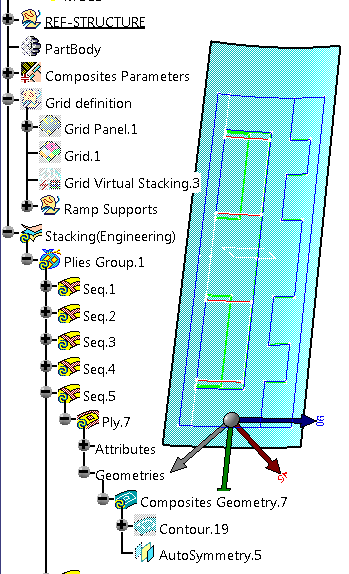
Select Create symmetry of plies and click OK:
-
Plies that use the intersection of the symmetry plane with the reference surface, like this one:
receive an autosymmetry feature:
-
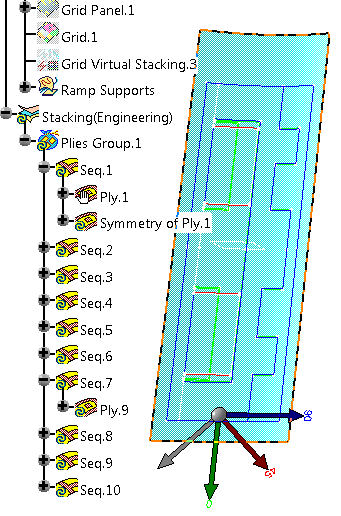
Plies that do not use the intersection of
the symmetry plane with the reference surface,
like this one:
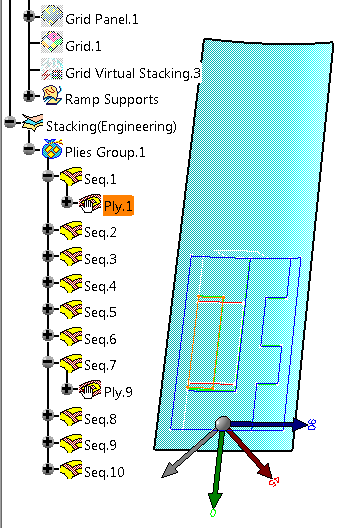
receive a symmetry feature:
-
-
If required, perform the steps above again, but select Remove symmetry of plies to remove symmetric plies.
![]()