![]()
-
Click Geometry Transfer
 in the Flattening toolbar.
 -
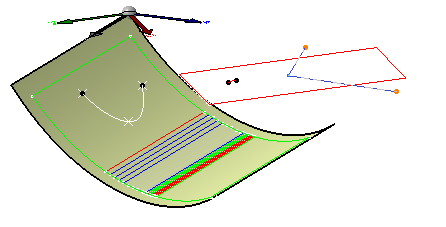
In the Geometry Transfer dialog box, click 2D to 3D.
-
On the flattened ply, select the 2D curve you want to transfer on the 3D geometry.
-
Select Ply.1 in the specification tree.
-
Click OK to transfer the join on the flattened ply.
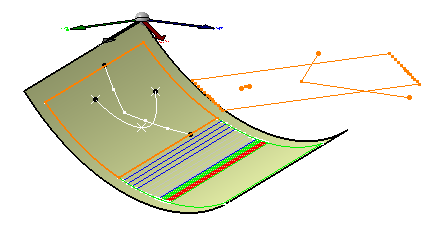
The segments exceeding the ply's contour are not taken into account.
be careful when selecting the reference entity, as the curve will not be represented
the same way according to the ply's direction.
![]()