With this swapping mode, you will transfer
plies contours using a deformation based on wrapping curves.
You will select
reference curves list and their counterpart target curves.
The deformation
will be defined by the transformation of the reference curves into target
curves and
will apply to the ply shell, the boundary of the deformed ply
shell will be the deformed ply contour.
-
Click Skin Swapping
 in the Manufacturing toolbar.
 -
Select the feature where you want to insert the swapping in the specification tree.
- Multi-selection of entities
 is
available.
 - In the multi-selection
dialog box, click
 to select entities the Stacking Management.
 - Select a ply, a sequence, a group of plies, cut-pieces, an edge of part or a stacking.
In our scenario, we selected the Sequence.1.
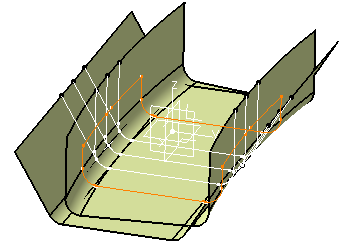
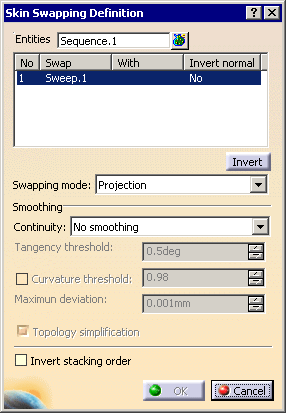
The Skin swapping dialog box is displayed.
The engineering surface to be swapped is already selected in the Swap frame (Sweep.1).
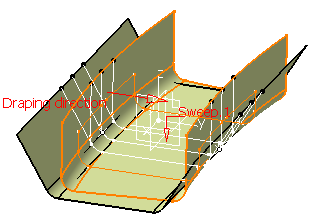
- Multi-selection of entities
-
Select Extrude.2 as the manufacturing surface to be swapped with Sweep.1.
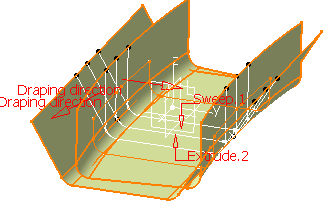
Its name is displayed in the dialog box in the With column.

-
Set the Swapping mode to Wrap Curve:

Two tabs are added to the dialog box:
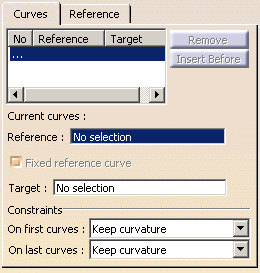
and
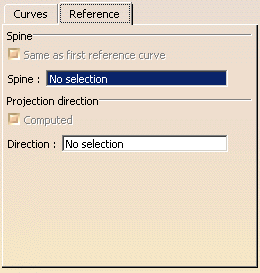
-
Click ... in Curves and select the first reference curve (see dotted line),
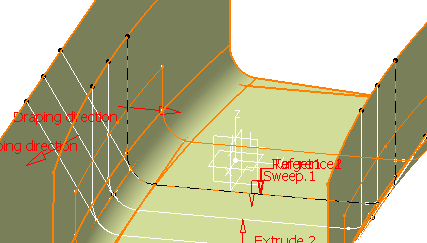
then the first target curve (see dotted line).
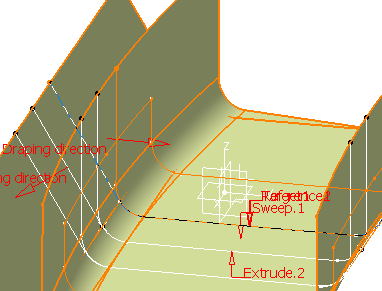
Select as many reference/target curves pairs as necessary.
You can insert or remove pairs as necessary.
The dialog box is updated accordingly.
When you select a pair in the Curves list, their names are displayed under Current curves: Reference and Target,
and they are highlighted in the 3D view.
- You must select the reference curves and target curves as pairs:
you cannot select all the reference curves, then all the target curves. - When several pairs of curves are selected, they must be ordered, not randomly selected
- Reference curves should not intersect each other, nor should the target curves intersect each other.
-
You may need to create a deformation from the engineering surface to the manufacturing surface in relation to another element (e.g. when you want to match two surfaces).
Fixed reference curve lets you fix an element that can be used by another one, thus allowing you to retain a connection between elements while deforming the initial ply shell.
To do so, select the Fixed reference curve check box after selecting the reference curve. -
When needed, define further constraints on the deformed ply shell:

You can choose to retain the initial ply shell curvature or tangency constraint on the first pair of curves,
on the last pair of curves, or on both pairs of curves.
If you select Keep tangency or Keep curvature, the original continuity between the deformed area
and the surface outside the deformation area will be kept as best as possible, but may be approximate in certain cases.
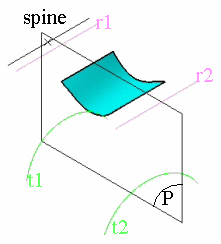
The following diagrams will help you understand how the deformation is computed in relation to the entered data, i.e. reference/target curves and possible spine.
3D view, where:
r1, r2 are the reference curves,
t1, t2 are the target curves,
P is a plane normal to the spine
Planar view, where:
Ir1: is the intersection between P and r1
r2: is the intersection between P and r2
It1: is the intersection between P and t1
It2: is the intersection between P and t2
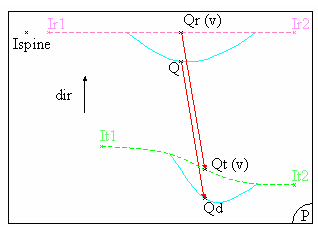
The deformation is computed in each plane P, normal to the spine.
In each plane P, the system computes the intersection between the plane
and each curve.
A curve (Cr) is created between the first intersection point (Ir1) and the
last intersection point (Irn)
on reference curves, passing through all the
intersection points between these two.
Similarly, a curve (Ct) is created passing through all the intersections
points between the first (It1)
and the last intersection point (Itn) on
target curves.
Then, for each point Q, resulting from the intersection of the surface to
be deformed with the plane,
Q is projected onto the curve Cr according to
the projection direction (dir).
This projection direction is the vectorial product of: vector(lspine, lr2) ^
vector normal to P.
The result of the projection of point Q is the point Qr, its parameter on Cr
is v.
Similarly, a point Qt is created on the curve Ct, with the same v parameter
as point Qr on curve Cr .
Then Qd, that is the transformation of point Q according to the wrap curve
deformation, is obtained by adding:
Q+vector(Qr,Qt).
The boundary of the deformed ply shell is computed and is set as the result
contour of the skin swapping.
-
By default the spine is the first reference curve, but you can select a new spine in the Reference tab.
-
You can select the Projection direction in the Reference tab.
-
Click OK to validate and exit the dialog box.
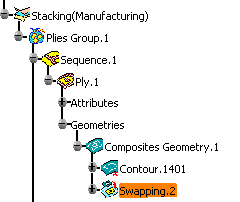
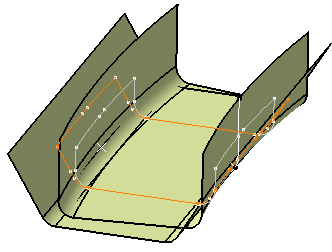
A Swapping.x feature is created in the specification tree and in the 3D viewer
(we have hidden the reference and target curves).
![]()