|
You can apply Limit Contour: - To one single ply or
cut-piece to
relimit the contour of the selected entity.
- Or to several plies, either selected as plies, or as a plies group or a stacking.
In this case, Limit Contour creates a Limit Contour Group.
The Limit Contour Group creates a limit contour on each single ply or
cut-piece, and applies a staggered value to the limit contour of each
single ply or cut-piece.
Limit Contour Groups
Starting with R19, a limit contour
group is created at each creation of limit contours:
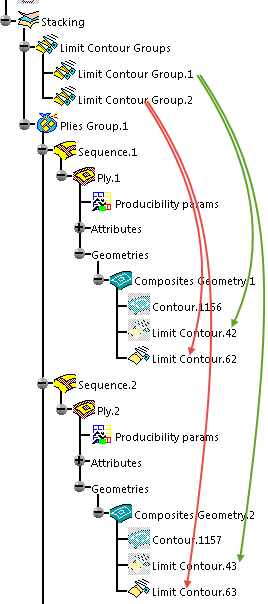
- A limit contour is created under each ply,
- The limit contour group points to all the limit contours,
- This limit contour group is editable by double-click, enabling
thus the modification of all the plies in one shot.
- The edition dialog box is the same as the creation one.
- When you edit a limit contour group, you can remove limit contours by
removing
the corresponding plies in the multi-selection dialog box.
-
Limit
contours can be edited on their own.
Be aware that local modifications of a limit contour will be lost
when you
edit the corresponding limit contour group.
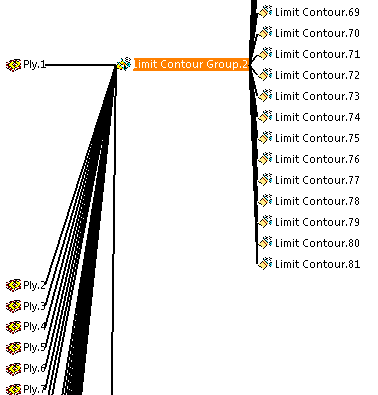
- Use the Parents/Children command on a limit contour group to
visualize
the relations between plies and limit contours
-
Deleting a limit contour group deletes all the limit contours linked to
this group.
-
On the Fly Information is available on limit contour groups.
- When you are creating a limit contour for one single ply,
only this
limit contour is created (no limit contour group).
- For models created before R19, you can create a limit contour group
using Create limit contour group in the contextual menu of
any limit contour selected in the specification tree. A dialog box opens
with the list of similar limit contours. You can deselect any limit
contour by picking it in the dialog box. When you click OK, a limit
contour group is created with the limit contours highlighted in the
dialog box.
Assembly Limit Contour
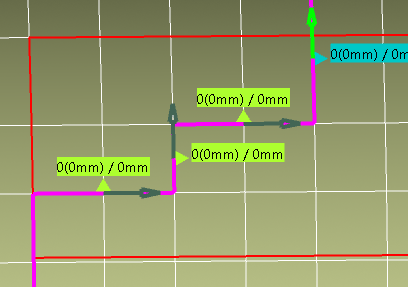
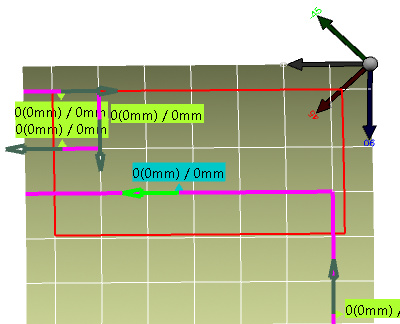
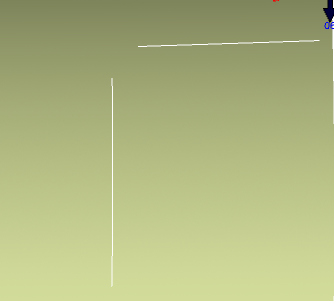
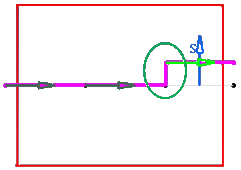
You can assemble several curves into a limit contour.
As you pick the curves, a
contour is proposed in pink, with an orientation in green.
Adjust the orientation of the curves as you pick them.
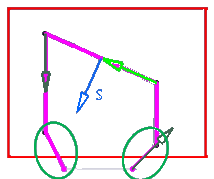
You can also define several limit contours from the same set
of curves,
provided they do not intersect, and they start and end outside
the ply boundary.
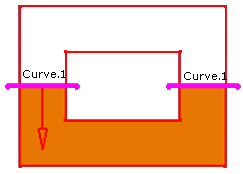
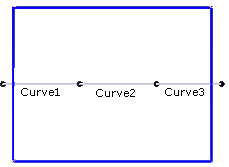
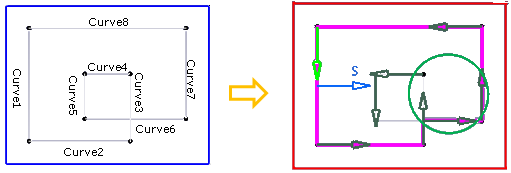
You can select a curve several times, provided you have selected at least
another one in between.

Selection of multi-domain curves is not allowed, except for one single curve
such as Curve.1 in the example below.
The curves are joined, either by extraloplation
or by filling gaps
Select the method in the main dialog box (Extrapolation
Join Type or Gap Fill Join Type).
The
first and last curve of an assembly of curves
are extrapolated.
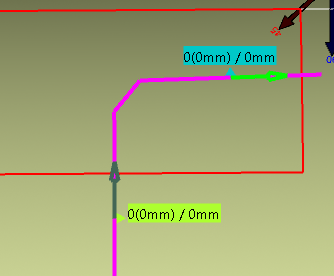
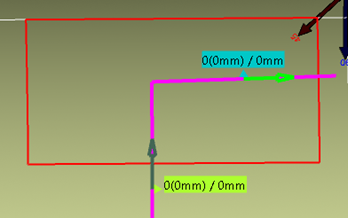
Not closed

In such a case
The curves are extrapolated if no staggering is added:
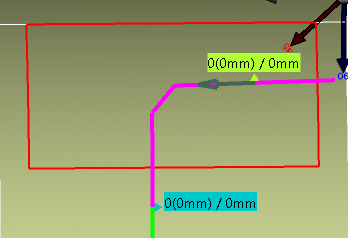
whereas a gap fill is added if a staggering is added:
Use the gap fill method for limiting curves outside the ply
area
Collapsed curves are ignored:
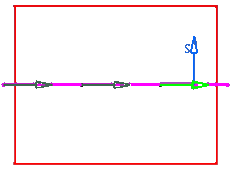
Curve Orientation and Relimiting Direction
Starting with V5-6R2018, curve orientation and relimiting
direction are stored in the limit contour feature. Edit older limit
contours to upgrade them.
Curve orientation and
Relimiting direction are retrieved automatically from the
geometry.
However, you can edit them if necessary.
Older Limit Contours Groups may also require an update.
Messages help
you through the process.
|