This task shows you how to mark plates and shapes in the selected joining operation's interim product with reference lines to identify waterlines, frames, buttock lines, and so on.
You must have already run Build Activity List
![]() for the Deck01_1.CATProduct.
for the Deck01_1.CATProduct.
-
Select the Joining Operation command
 .
. -
Select Deck01_1 in the ProductList.
The Joining Operation dialog box appears. 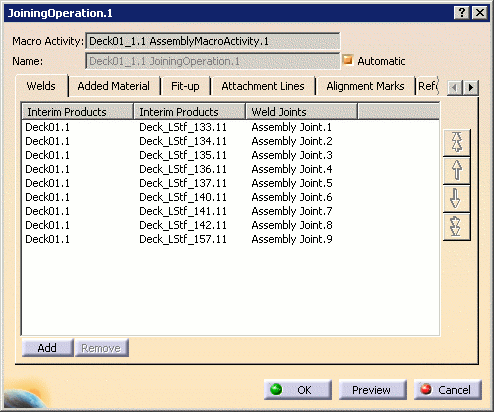
-
Select the Reference Lines tab.
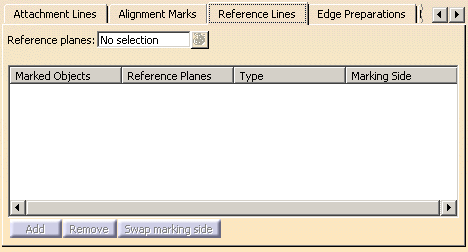
-
Select one or more reference planes in the geometry area.
The number of planes is identified in the Reference planes field and can be viewed using the List icon or the contextual menu. Only reference planes that intersect the current interim product are considered.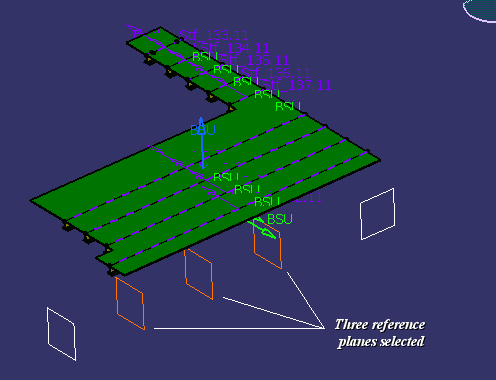
-
Click Add to define the objects you want to mark.
The Add Items dialog box opens listing all the piece parts in the joining operation intersected by selected reference planes. 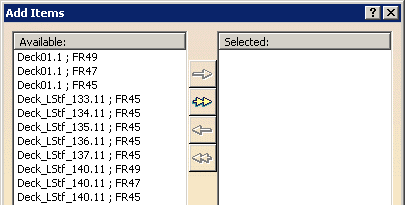
-
Select one or more items and use the arrows to move items from the Available to the Selected box, then click OK.
Note: Double arrows move all items from one side to the other. The system creates one reference line item for each piece part intersected by a reference plane. Selected plates and shapes are listed in the joining operation dialog box along with the reference plane that intersects the marked object.
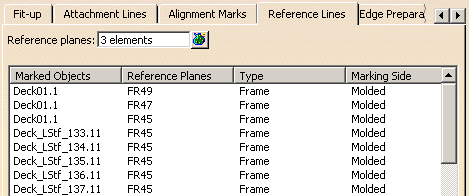
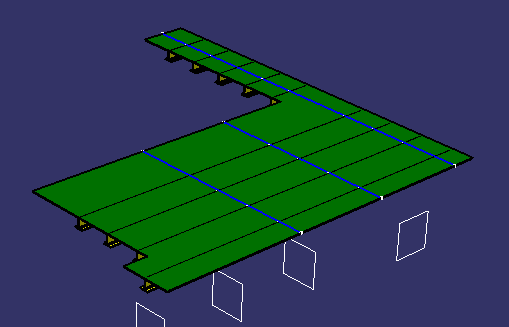
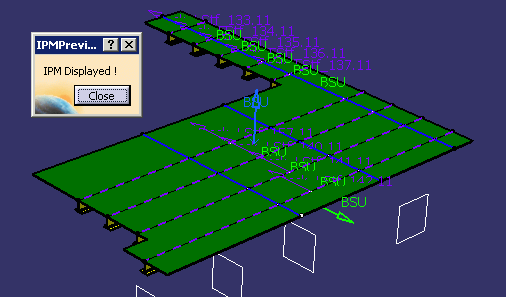
To delete lines from the list, select them from the list and click Remove. Reference lines are visualized in the geometry area:
-
Swap Marking Side can be clicked to move the reference line between the Molded surface and the Thick surface.
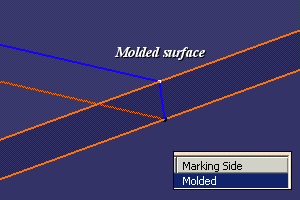
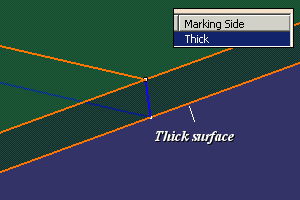
-
Click Preview. The IPM Preview dialog box is displayed, and a full preview of the IPM part with the defined reference lines is shown:
-
Click Close in the IPM Preview dialog box to return to the Joining Operation dialog box.
-
Click OK when editing of the joining operation is complete, or click Cancel to cancel any changes that were made and dismiss the dialog box.
![]()