This task shows you how to create a bead, that is a local deformation in the web.
If you use the Generative
Sheetmetal Design workbench, open the
NEWStamping6.CATPart document.
If you use the Aerospace SheetMetal Design workbench, open the
Aero_Stamping6.CATPart document.
-
Click Bead
 in the Cutting/Stamping toolbar (Stamping
sub-toolbar).
in the Cutting/Stamping toolbar (Stamping
sub-toolbar). -
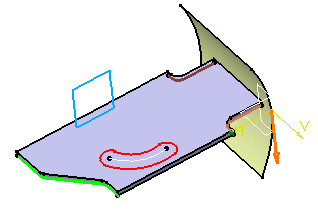
Select the spine profile where you want to place the bead.
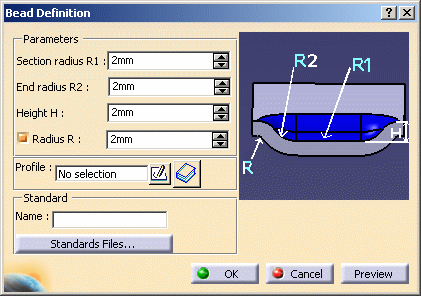
The Bead Definition dialog box is displayed, providing default values.
-
Change the value in the different fields, if needed:
-
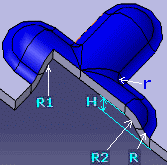
Section radius R1 (corresponding to the cross section value)
-
End radius R2
-
Height H
-
Radius R

You can use 0 as the Radius value to deactivate the Radius R value, and to create the bead without a fillet.
The Profile is automatically set to the sketch you chose.
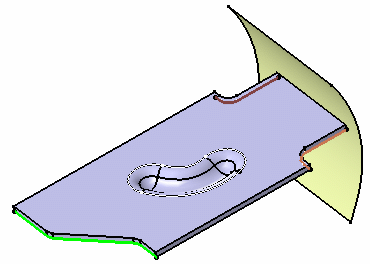
The vector for the direction of the bead is shown in the model and a preview of the bead appears. A vector shows its direction.

The vector cannot be reverted until the bead spine is defined.
-
-
Click OK to validate.
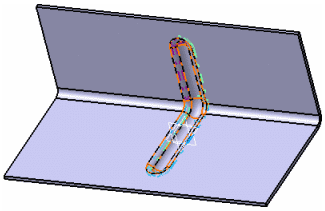
The bead (identified as Bead.xxx) is created and the specification tree is updated accordingly.
More about Beads
![]()