- Digitized Shape Editor
- Quick Surface Reconstruction
- Shape Sculptor
- STL Rapid Prototyping.
The standard operation mode is to select one feature in the specification tree, in order to see the properties of all the cells it contains. Then, you can select each single cell in the preview window of the dialog box and focus on its properties.
Although multi-selection of features is possible, it will not enable you to edit the properties of their cells.
-
In the specification tree, right-click data containing cells, select Properties, and go to the Cells tab.
-
To better see how the cells of the data are divided, select colors for them and click Apply.
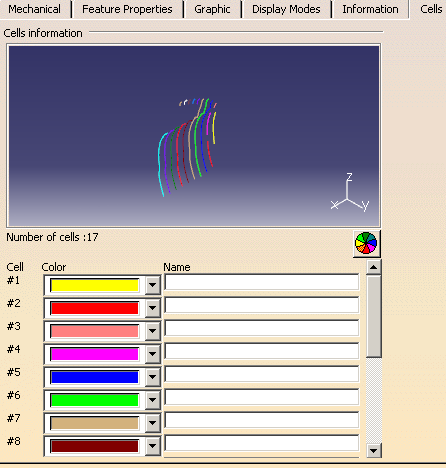
You can click
![]() to apply a random color to each cell.
to apply a random color to each cell.
-
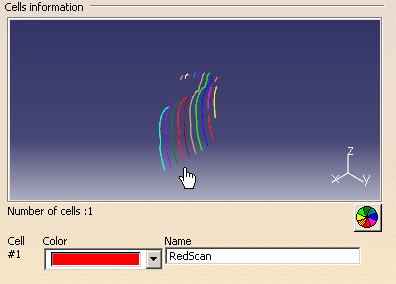
Place the cursor in the preview window, and click one of the cells.
The dialog shows only the data for that cell.
You can add a name for this cell.
-
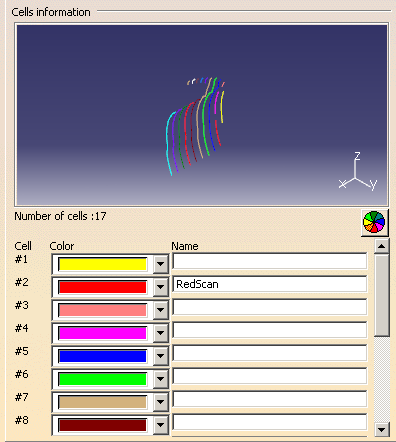
Right-click any data in the preview window, and select Unselect cell in the contextual menu that appears.
The cell you just named appears within the context of all other cells.
-
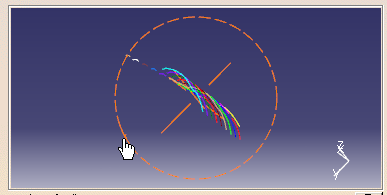
In the preview window, rotate the data so that you can find other cells.
-
To erase the properties of one single cell (and keep all others unchanged), select No Color from the Color list of this cell.
-
Click OK when you have modified all cell properties as you wish.
The properties are saved.
- You can undo all property changes by right-clicking the data in the specifications tree, selecting Object_Name object > Reset Properties.
- You can access the Cells tab by right-clicking a cell in the standard 3D viewer and selecting Properties.
![]()