Open the FreeStyle_Part_26.CATPart document.
-
Click the Light Source Manipulation icon
 .
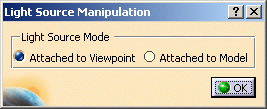
.The Light Source Manipulation dialog box opens.
-
Select the light source mode:
-
Attached to Viewpoint: the light source is fixed to the screen and the model can rotate independently to the light source position.
-
Attached to Model: the light source is fixed in the reference axis of the current model.
-
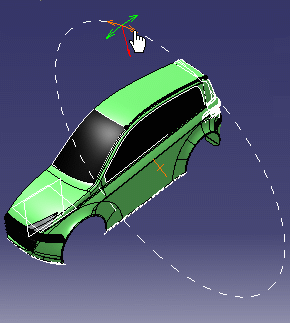
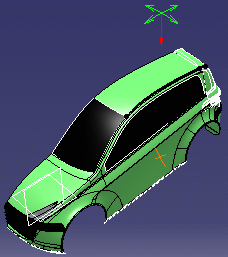
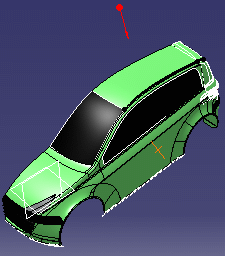
Manipulators appear in the 3D geometry and the red arrow represents the light direction (i.e. the target):
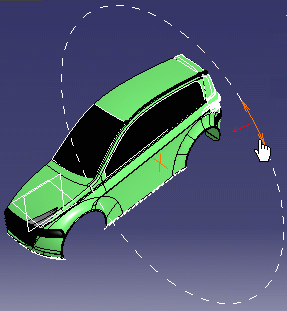
If you drag your mouse along that circle, the light source is rotated along its axis.
-
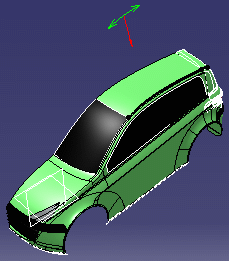
Use the arrows to define the rotation.
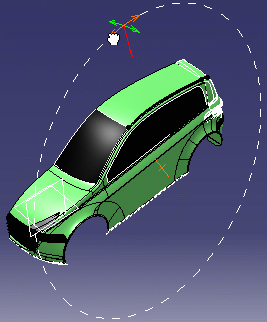
-
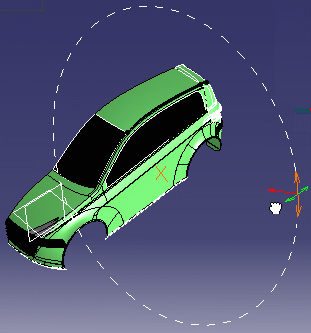
Drag the mouse long the circle handler to change the position of the light source origin along the selected arc:
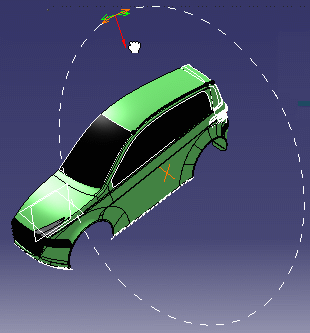
-
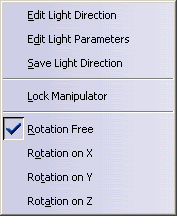
Right-click a manipulator and select one of the following contextual commands:
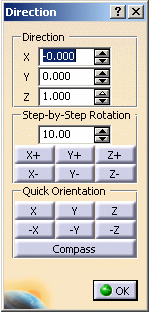
Edit Light Direction
-
Direction: the three spin boxes displayed let you define the position of the direction vector along the X, Y and Z directions. The direction vector represents the privileged direction of illumination of the source and is visualized by the red arrow whose origin is the light source origin.
As soon as you modify a value, the light source is updated simultaneously in the geometry area.
-
Step-by-Step Rotation: this area lets you define the rotation angle in degrees. The default value is 10.00 but you can enter your own value if needed using the spin box.
When the rotation angle has been defined, click the desired button to start rotating your light source around the corresponding axis by the angle you specified.
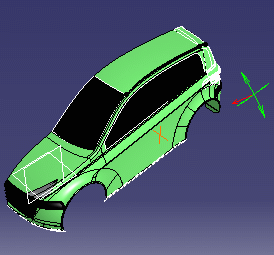
Starting position: X
New position: X+
Rotation = 45 degrees
-
Quick Orientation: this area lets you position the light source parallel to the absolute axis system.
For instance, clicking Y will modify the light origin in order to position the light source parallel to the Y axis.
Inversely, clicking -Y will invert the position of the light source along the Y axis:
-
Compass: this button lets you position the light source according to the compass orientation.
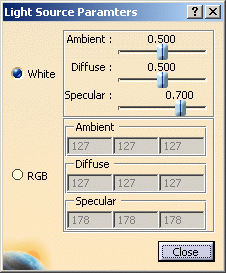
Edit Light Parameters
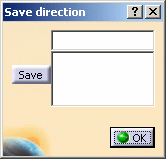
Save Light Direction
Once you are
satisfied with the position of your light source, click the Save
button to store the light position.
Each light position is saved under the following name: Direction.n, for
instance "Direction.1" for the first position, "n" being incremented by one
for each new position you save.
You can save as many positions as necessary but keep in mind that you are
not allowed to modify the position name.
When finished, click OK to validate.
Rotation
-
by default, the Free Rotation contextual command is activated and lets you rotate freely your light source around the X, Y or Z axis using the two green manipulators
- if you activate the Rotate around X command, you will be able to rotate up or down your light source around the X axis only
- if you activate the Rotate around Y command, you will be able to rotate up or down your light source around the Y axis only
- if you activate the Rotate around Z command, you will be able to rotate up or down your light source around the Z axis only.
Lock Manipulator
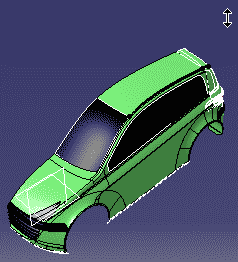
Locking a manipulator means that the rotation in the plane defined by the selected manipulator will be locked: the locked manipulator is hidden and you will only be able to move your light source around the unlocked axis of the light source which means that the mouse will move only up or down.
This is especially useful when working with big models because you can still change the light position by pointing at the hidden manipulator (in that case, the cursor shape changes) without being bothered by the display of this manipulator on your model.
- one manipulator is locked
- the cursor shape changes
- you can still drag the hidden manipulator to modify the light direction
![]()
