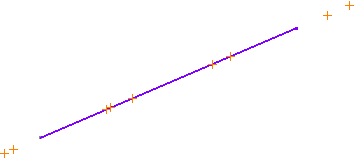
Create a line.
-
Click Align Points in the Profile toolbar (Point sub-toolbar).
-
Select all the points using trap selection.

You can also right-click the points and choose Selected objects > Horizontal or Selected objects > Vertical to align the points horizontally or vertically in an instant. By default, Along a Direction
 option is
selected in the Sketch tools. Using this option, you can
align the points in the direction of the selected end point.
option is
selected in the Sketch tools. Using this option, you can
align the points in the direction of the selected end point.
A small arrow indicating the direction of alignment appears at the origin point. The direction of the arrow changes with respect to your pointer position.
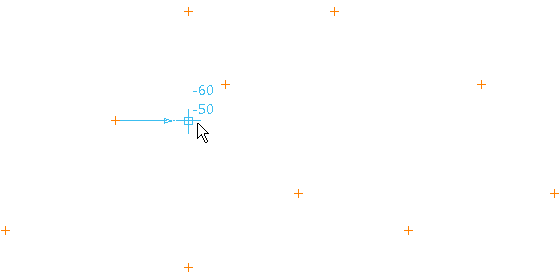
If required, you can change the origin point. -
Optional: Click Change Origin Point
 and select
a point.
and select
a point.
Previously selected points are now unselected and you can choose a different origin point. -
Do either of the following actions to align the points: