Select Tools > Options > Mechanical Design > Drafting > Geometry tab, and select the Create detected and feature-based constraints check box or make sure that Create Detected Constraints
Using Sketch Solving Status
-
Select all the circles.
-
Click Constraints Defined in Dialog Box
 in the Geometry Modification toolbar (Constraints
sub-toolbar).
The Constraint Definition dialog box is displayed. -
Select the Fix option.
-
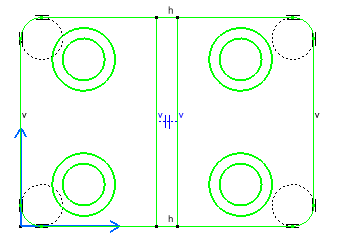
Click OK in the dialog box. The geometry color turns green indicating that the view geometries are iso-constrained.
-
Select the vertical and horizontal lines.
-
Click Constraints Defined in Dialog Box
 and select the Fix, Vertical and Horizontal
check boxes.
 -
Click OK in the dialog box. The geometry color turns green indicating that the view geometries are iso-constrained.
-
Click Sketch Solving Status
 in the Tools toolbar (2D Analysis Tools
sub-toolbar).
This command gives you a quick diagnosis of the geometry status.
The Sketch Solving Status dialog box is displayed and informs you of the general geometry status, whether it is under-constrained, over-constrained or iso-constrained.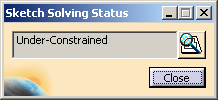
Meanwhile, the information given in the Sketch Solving Status dialog box is highlighted in orange in the geometry area and the elements that are under-constrained are highlighted.
In this case the four points are highlighted indicating that they are under-constrained.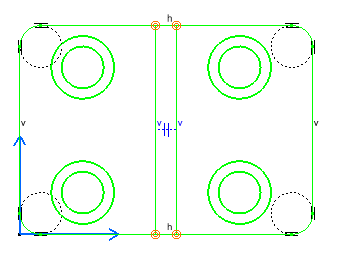
Using Sketch Analysis
-
In the Sketch Solving Status dialog box, click Sketch Analysis
 or select Tools
> Sketch Analysis from the menu.
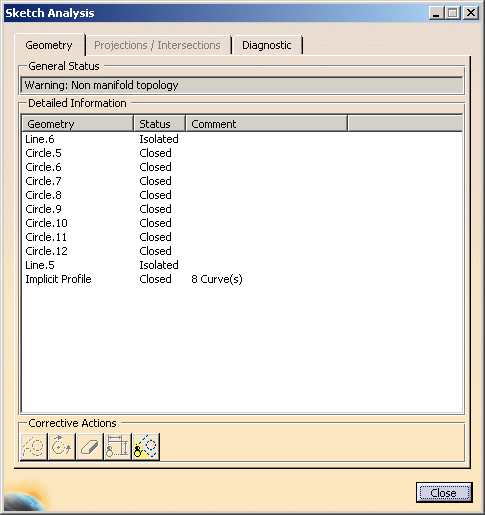
The Sketch Analysis dialog box is displayed. It contains three tabs: Geometry, Projections / Intersections and Diagnostic.
The construction elements appear in blue color in the geometry.
- The elements displayed in the dialog box can be sorted by Name, Status or Type, by clicking on the appropriate tab.
- The element selected in the dialog box is highlighted in the geometry area.
-
Select the Geometry tab. It displays information about all the connex profiles in the view.
-
General Status: Provides global status on all the geometries in a view.
-
Detailed Information: Provides a detailed status/comment on each profile in a view.
-
Corrective Actions: According to the analyzed element selected you can:
-
 turn this element into a construction
element
 -
 close a profile which is open
 -
 erase a disturbing element
 -
 hide all constraints in a view
 -
 hide all construction geometries in a
view and in the detailed information
area of the Geometry tab.
-
-
-
Select the Diagnostic tab. It gives information about every element in the geometry or constraint in a view.
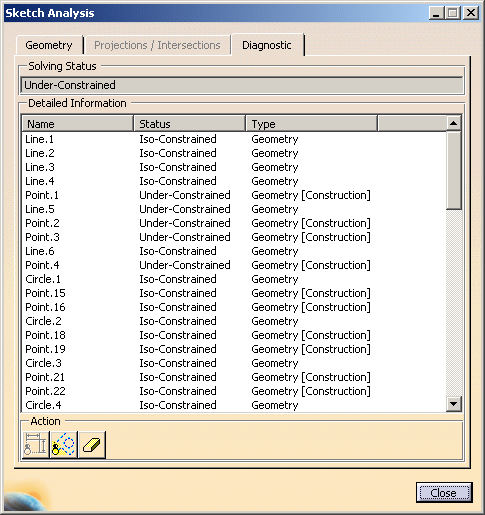
The information on this tab displays a full diagnosis of the view geometry. It provides a global analysis of the view as a whole, and specifies whether individual geometrical elements in the view are under-constrained (under-defined), over-constrained (over-defined) or iso-constrained (well defined):
- Solving Status: Provides a quick overall analysis of the geometries in a view.
- Detailed Information: Provides a detailed status on each constraint and geometrical element in a view, and lets you know the type of element it is (geometry, constraint).
- Action: According to the analyzed
element selected you can:
-
 hide all constraints in the view and in
the detailed information area
 -
 hide all construction geometries in the
view and in the detailed information
area of the Diagnostic tab
-
 erase geometry.
-
-
Click Hide Construction Geometries
 in the
Sketch Analysis
dialog box.
All the construction elements are hidden both in the dialog box and geometry.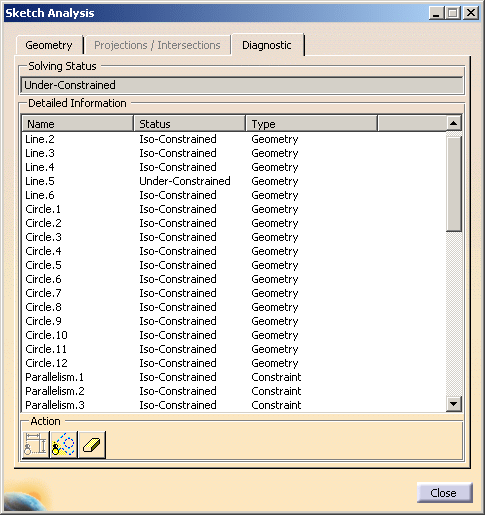
If you select items from the Detailed Information table, they will be highlighted in the view, which enables you to identify them easily. To solve constraint-based problems in the view, you need to edit the geometry directly.
- Drafting documents do not contain any associative use-edges, so the Projections / Intersections tab is disabled in the Sketch Analysis dialog box.
- Driving dimensions use invisible constraints to drive geometries. So these constraints appear in the Diagnostic tab, but are not highlighted in geometry of the view as they are invisible. If such dimensional constraints (invisible constraint created for driving dimension) are deleted in the Diagnostic tab, the dimension becomes not-up-to-date. Such dimensions must be manually deleted.