-
Set the Entity Level to Sequence, Ply or Cut-piece.
-
Select the Entity Preview check box.
The Stacking Preview dialog box opens with - A 3D Viewer
on the left
- Reframe is done on the transferred rosette of the ply, with the draping direction pointing towards you.
- Cut-pieces of ply can be included in the preview.
- A 2D Viewer on the right
- Reframe is done on the flatten plane.
- Cut-pieces of ply can be included in the preview.

Only the current (single selection) or the last (multi-selection) entity is highlighted.
If the selection is empty, or if all rows are selected, the previewer is empty. - A 3D Viewer
on the left
-
Press the icon corresponding to the required review.
-
Resize the dialog box to enlarge the previewer.
-
Zoom in or out, or pan the table as you need, using standard commands.
-
Go from one row to another in the 2D viewer to inspect the entity in the previewer.
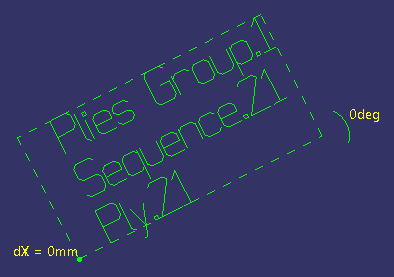
Positioning Texts
When they exist, flatten texts are displayed in the previewer.
You can
change their position and angle, to make them fit inside the flatten shape.
The position of the text is represented by a green dotted line,
with
the value of the angle(0°-360°) it forms with respect to the horizontal.
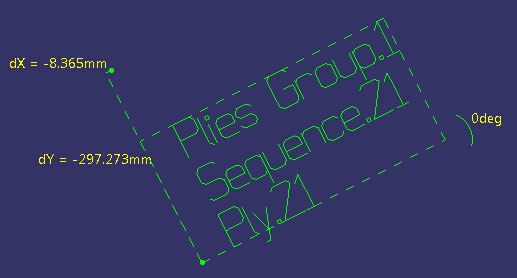
-
Drag the green dot situated at the beginning of the text to move the whole text (top/bottom/left/right).
The text remains parallel to its initial position.
The move is represented by a gree dotted line and by dX and dY values.
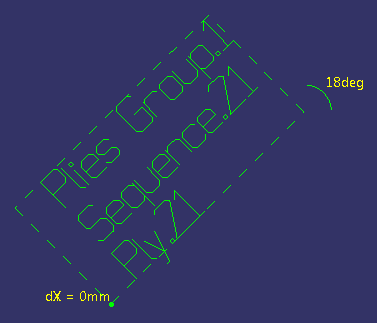
-
Drag the green arc representing the angle to the horizontal to rotate it.
The angle value is updated.
Manual positioning has priority over automatic positioning, until you select Reset Flatten Text.
![]()