- The Keep link in position and Keep link with geometry options are grayed out in the Assembly Wizard dialog box, while a Part Design license (PD1 or GSD) is not granted.
- Assembly features do not appear in the specification tree, while the Assembly Design license (ASD) is not granted.
- Be sure that the update mode is Automatic, see Assembly Design, General settings.
-
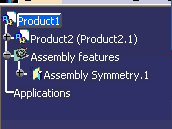
Double-click Assembly Symmetry.1 in the specification tree.
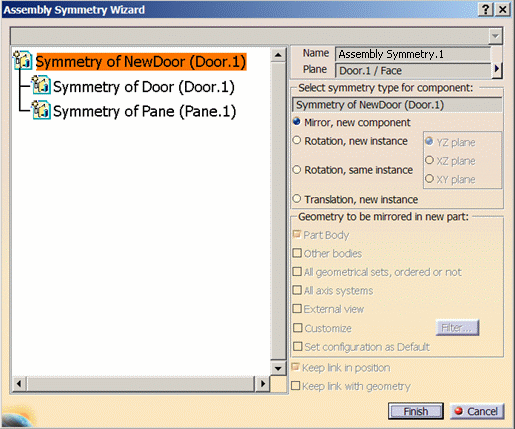
The Assembly Symmetry Wizard dialog box appears. 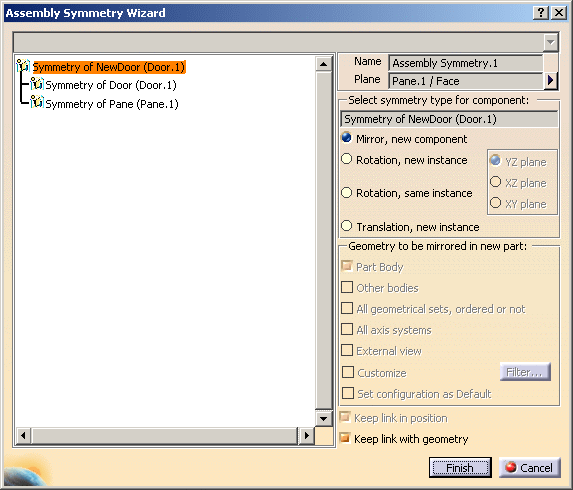
The Set Configuration as Default checkbox in the Assembly Symmetry Wizard saves all Geometry Options except “Customize” when the symmetry is created next time.
-
Click the button arrow to change the symmetry plane.
The <None> term appears in the field. -
Select a new symmetry plane.
The field now contains selection. -
Click Finish to confirm and close the dialog box.
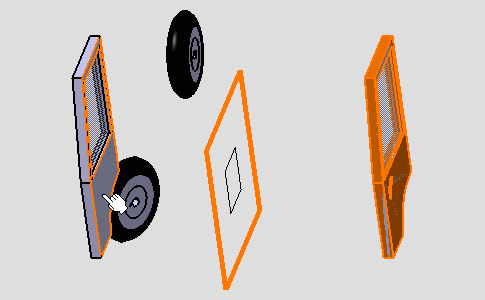
Once updated, the symmetry looks like this: 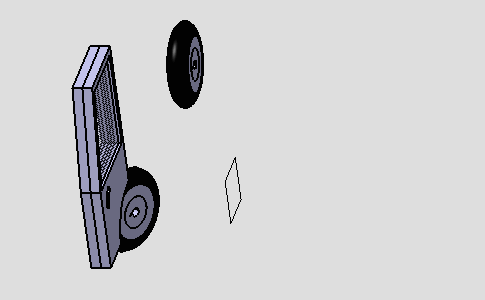
Replacing the initial component
-
Right-click the required component in the specification tree, and select Components > Replace Component... from the contextual menu, and select another component as the replacing component.
-
Select No option and click OK in the Impacts On Component dialog box which appears.
The symmetry is no longer updated. 
-
Right-click Assembly Symmetry.1 in the specification tree and select Local Update from the contextual menu.
-
Double-click Assembly Symmetry.1 in the specification.
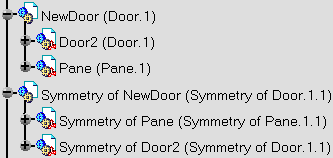
Component becomes Symmetry of Component. 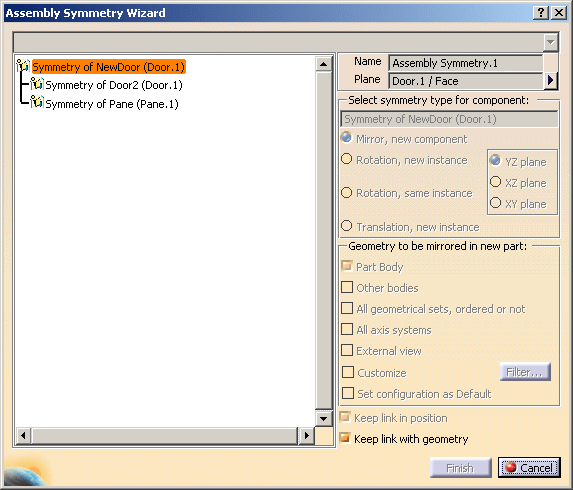
Since the Set configuration as Default was checked in the last symmetry, the part body option appears checked.
-
Click Finish to confirm.
The new door is obtained by symmetry. 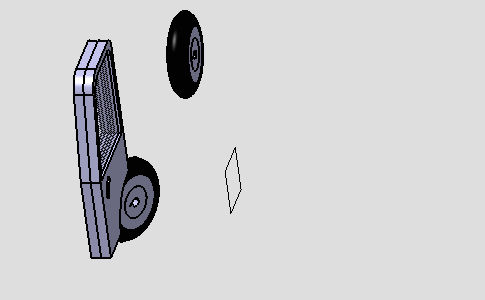
Deleting the original component
-
Delete the component from the specification tree.
Its symmetrical element is deleted too. 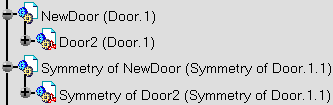
The assembly and the specification tree now look like this: 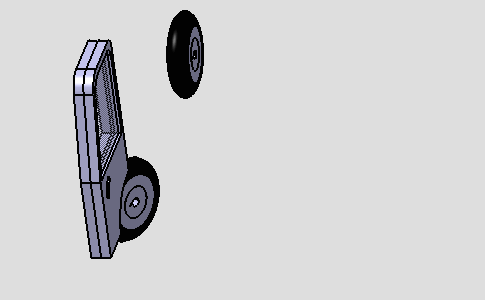
Deleting the symmetry component
Once the symmetry component is deleted the tree structure appears as shown below.
When Assembly Symmetry is edited then while editing the symmetry feature:
- Option for Select symmetry type of component is enabled and it is set to first option as default.
- And finish button is activated as shown below.
- Geometry options are not available for edition.
You can also delete the assembly feature, change the symmetry, and create new symmetry product.
-
While modifying the symmetry you cannot change the configuration. So the configuration remains default.
-
If you delete any part/product from symmetry output, nothing is reflected on symmetry feature. You can get the output back, as the missing output is shown in the Assembly Symmetry Wizard dialog box with exclamatory symbol. Thus, you can avoid presence of a part of product in symmetry output.