This procedure describes how to create a camera. The camera enables you to specify a viewpoint from which a photorealistic image is computed.
Adjust the view parameters (zoom, rotation, etc.) of the document to define the desired camera location.
-
Click Create Camera
 or select URL> Create Camera from the Tools menu.
The viewfinder frame is displayed. 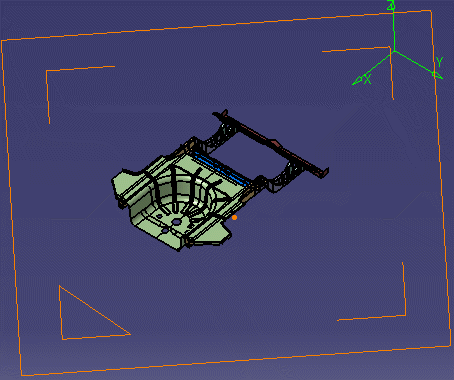
-
Adjust the view parameters to show a different view and Create Camera
 .
.If you zoom out, you can see both cameras relative to the data. 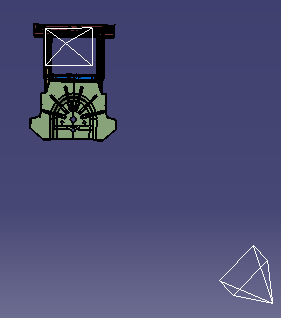
-
Right-click on one of the cameras and select Properties.
The Properties dialog box appears. By default, the first tab, Lens, appears. 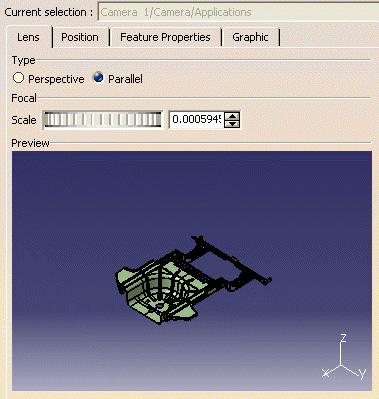
-
Change the lens Type from Parallel to Perspective to alter the view in both the Preview window and the 3D view.
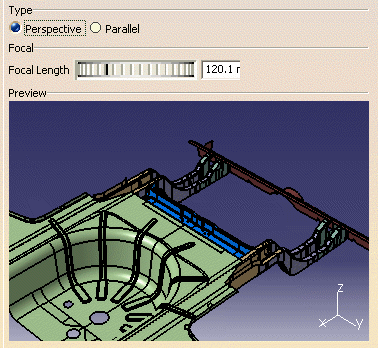
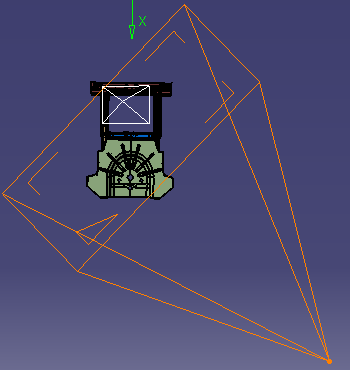
- Perspective: A conical camera is equivalent to a standard camera, with a non-zero focal length. Parallel lines in the camera line of view appear to intersect at the same point. Perspective cameras are used in most cases since they are close to human vision.
- Parallel: In the case of a cylindrical camera, parallel lines never appear as intersecting. These cameras are mainly used to define architectural viewpoints.
-
Use the arrows to enlarge the Focal Length or Scale.
The changes appear in the Preview window. 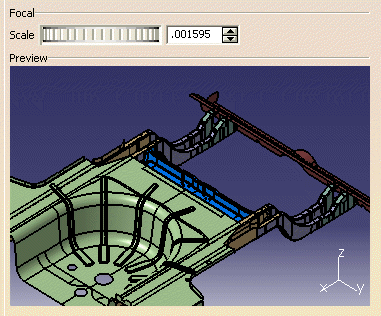
For a conical camera (e.g., with lens type Perspective), specify the Focal Length, which determines the field of view, in millimeters. The focal length is the distance between the camera origin and the viewing plane. For a cylindrical projection (e.g., with lens type Parallel), the focal length is replaced by a zoom factor which determines the scale of view (i.e., Scale appears instead of Focal Length in the dialog box).
-
Select the Position tab and alter the origin location using the up or down arrows.
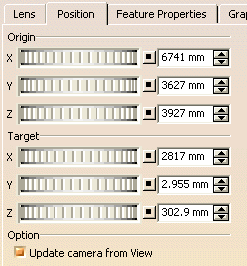
To see the change in the camera view, select the Update camera from View check box. -
Select the Feature properties tab to assign a relevant name to the camera.
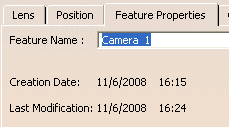
-
Click OK.