-
Select Tools > Image > Capture to display the Capture toolbar:

Two capture modes are available: Viewer mode and Screen mode.
Viewer mode
-
Click Click Select Mode
 in the Capture toolbar to activate the selection tool.
 The Capture toolbar now looks like this: 
-
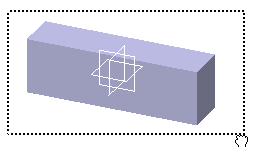
Click in the geometry area and drag to create a bounding outline around the area to be captured:
-
Release the mouse button.
The bounding outline now displays handles and a symbol in the center to let you: - Drag the outline by dragging the "X" symbol at the center of the outline
- Or, resize it by dragging the handles at each corner, or the sides of the outline:


At this point, if you want to exit the capture selection mode without capturing the image and without closing the Capture toolbar, click Select Mode  again then click anywhere in the geometry area.
When a small area is selected (for instance, 254*200) using the Select Mode but the Pixel size is increased in the Capture Configuration, then the quality of the resulting captured image will be low. -
Click Capture
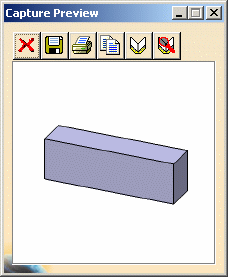
 to generate the captured image and display it in the Capture Preview
window:
-
Click Open Album
 or select Tools > Image > Album to display the album.
You can either select the image from the list to display it in the small preview area at the lower left of the Album window or you can double-click the image to display it in the preview window.The selected area of the image has been captured: 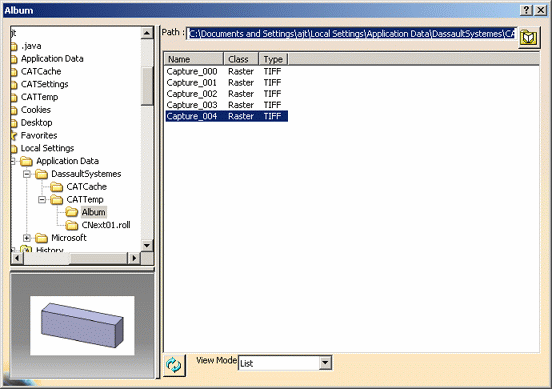
Screen mode
-
Click Click Screen Mode
 to activate Screen mode.
 -
Click Select Mode
 to activate the selection tool.
 -
Click in the geometry area and drag to create a bold bounding outline around the area to be captured.
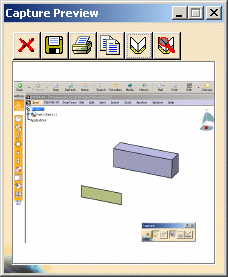
You can select any elements of the screen, not only those displayed in the Version 5 application window. In our example, as you drag, the height and width of the outline you are drawing (expressed as the number of pixels) are displayed: 

At this point, if you want to exit the capture selection mode without capturing the image and without closing the Capture toolbar, click Select Mode  again then click anywhere in the geometry area.
 -
Click Capture
 to generate the captured image and display it in the Capture Preview
window which opens:
-
Click Album
 to store the image in the album.
 -
Click Open Album
 or select Tools > Image > Album to display the album, and
double-click the image to preview it.
or select Tools > Image > Album to display the album, and
double-click the image to preview it.The selected area of the image has been captured. 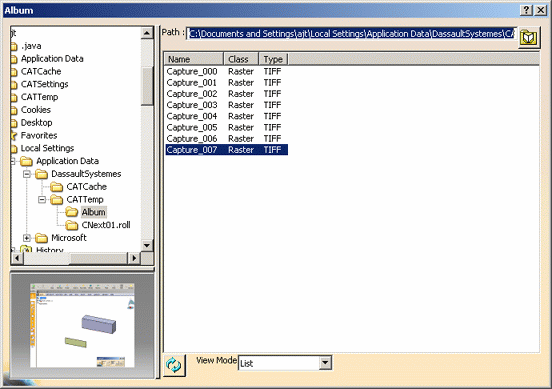
![]()