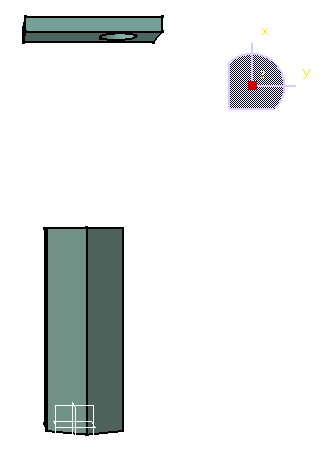
Manipulating Viewpoints Using the Mouse and Compass

This task explains how to manipulating viewpoints by simply dragging certain parts of the compass using the mouse. This is just another way of panning and rotating all objects in the document at the same time. You can:
  • Pan along the direction of any axis (X, Y or Z) of the compass
  • Rotate in a plane
  • Pan in a plane
  • Rotate freely about a point on the compass
  • View the document perpendicular to any of the axes of the compass.
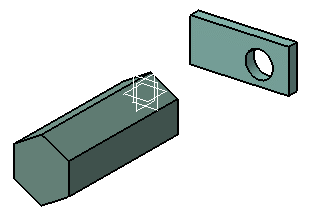
When a window with a viewer is resized, the viewpoint is resized according to height only and not to width. To keep the content fit to the viewer, run the Fit All In command after resizing the window.
Open the document Manipulators.CATProduct.
Note: the 3D compass and the absolute axis at the bottom right of the document are aligned identically by default.
  1. Rotate to see how the objects, 3D compass and the absolute axis are rotated together.
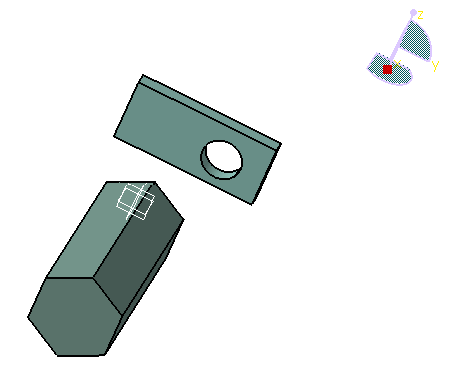
  2. Point to the compass.

    The cursor shape changes to: . You will also notice that the following parts of the compass are highlighted as you point to them:
    • Compass axes
    • Arcs on the planes of the compass
    • The planes themselves.

    When you drag any part of the compass, the cursor shape changes to: .

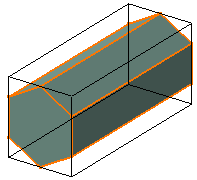
    If you selected the Display manipulation bounding box check box in Tools > Options > General > Display > Navigation, a box appears around the selected object if it can be manipulated by the compass:
    The edges of the bounding box around a selected object always remain aligned with the compass axes.
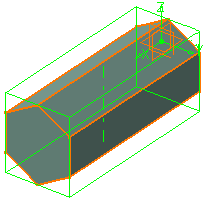
    Note that the manipulation bounding box differs from the manipulation handle which looks like this:
    The display of this manipulation handle is controlled by the Manipulation Handle command available in DELMIA products. For more information, refer to "Using the Manipulation Handle" in the Version 5 - 3D Simulation for Manufacturing User's Guide on the DELMIA Documentation CD-ROM.
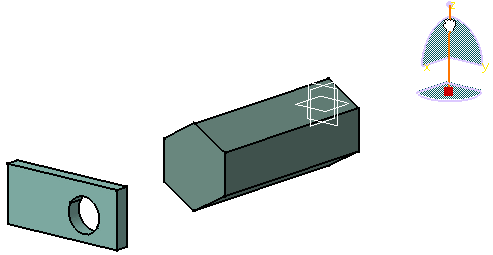
  3. Drag any axis on the compass.

    The viewpoint is panned along the direction of the axis. For example, dragging the Z axis upwards pans up along the Z axis like this:
  4. Drag an arc on the compass.

    For example, dragging the arc YZ to the right rotates the objects in the plane subtended by the arc YZ like this:
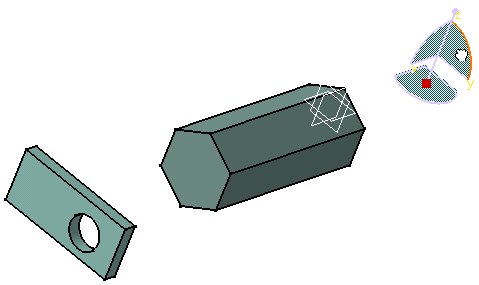
    Dragging close to the red square rotates the objects quickly; dragging further away from the red square rotates more slowly. The rotation axis used is the same as that used when rotating using the other rotation tools.
  5. Drag a plane on the compass.

    For example, dragging to the right the plane subtended by the arc ZY moves the objects on the same plane like this:
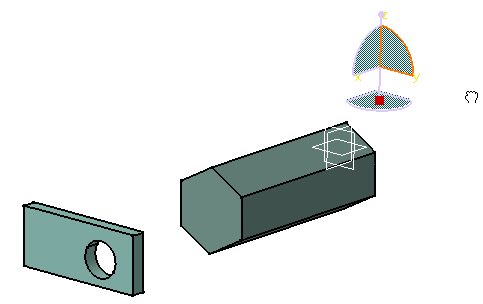
    Select View > Render Style > Perspective to perceive the effect more easily.
  6. Drag the free rotation handle (the point at the top of the compass) to rotate the objects freely like this:
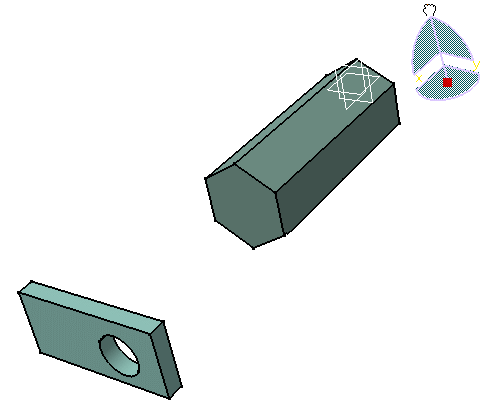
  7. Point to either X, Y or Z to highlight the letter, then click the letter to make that axis perpendicular to your eye-point.

    Clicking the same letter reverses the point from which you view the objects. For example, clicking the letter Z lets you view the document along the Z axis like this: