-
To install the vault setup, run this command:
./catstart –run VaultSetup
The Vault Setup dialog box appears.

-
Click Add... to set the Vault Server.
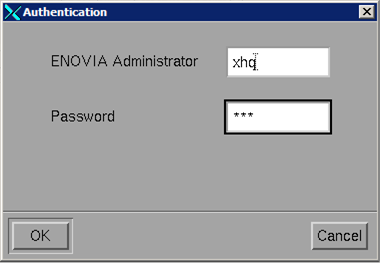
The Vault Setup - Vault Server - Authentication dialog box appears.
-
Log on as an administrator and click OK.
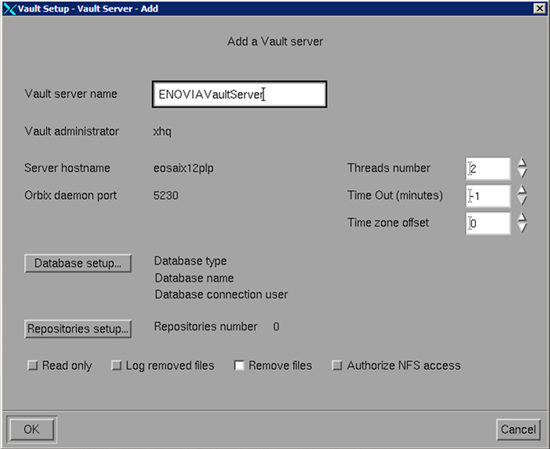
The Vault Setup - Vault Server - Add dialog box appears.
-
In the Vault server name box, type the name of the Vault
Server.
-
Click Database setup....
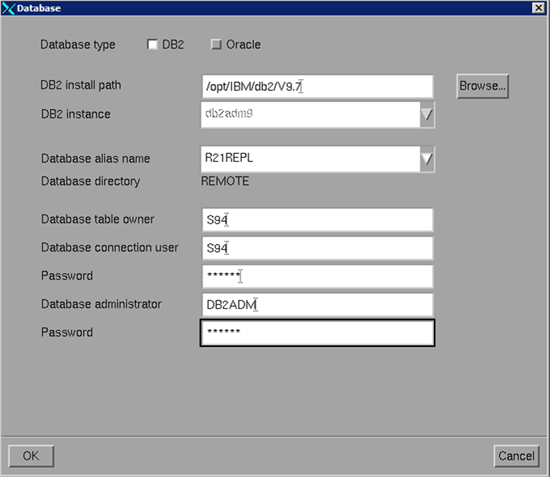
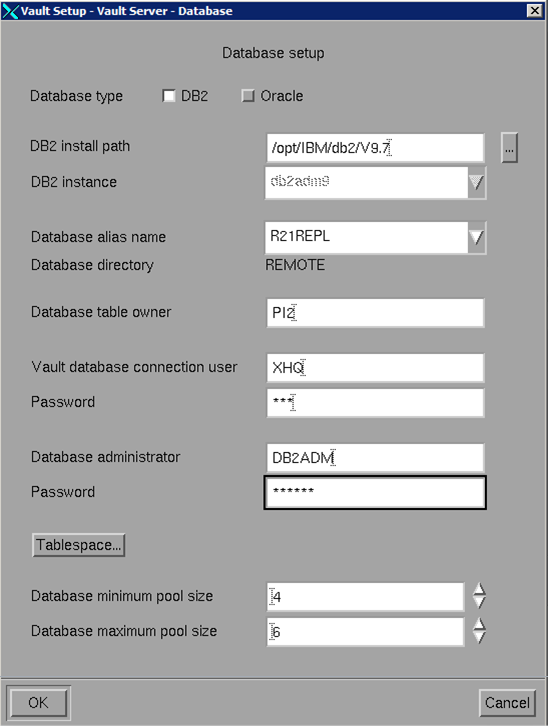
The Vault Setup - Vault Server - Database dialog box appears.
-
Select the appropriate database type that you have used
for ENOVIA V5R21.
In this scenario, DB2 database type is
selected.
-
In the DB install path box, type the path of
the directory.
Or
Click [...] button, to browse for the directory.
The Select the DB2 install path dialog box appears.
-
Select the folder or enter the name of the folder in the
Look in box and click Select Folder.
The DB2 install path box is replaced with the required path
for the selected folder.
-
In the Database alias name list, select the
appropriate name that you have used for ENOVIA V5R21.
-
In the Database table owner box, type a name.
Note: It is recommended not to use the same name used for Vault DataBase
table owner in V5R21, because the owner already possesses their own vault
tables. You can utilize the V5R21 Vault Server, once you restore the
ENOVIAVaultServer.properties file.
-
In the Vault database connection user and
Password, type the
same name and password that you have used while connecting to Vault in
ENOVIA V5R21.
-
In the Database administrator and
Password, type the same name of the administrator and the password
that you have used for ENOVIA V5R21.
-
Click Tablespace....
The Vault Setup - Vault Server - Tablespace dialog box appears.
-
Select the Select an existing tablespace
check box and click OK.
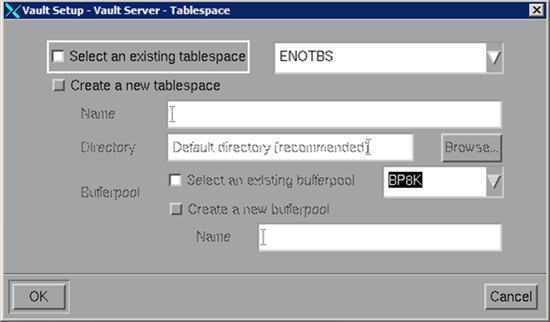
The Vault Setup - Vault Server - Database
dialog box re-appears.
-
Click OK to return to the Vault Setup - Vault Server - Add
dialog box.
-
Click Repositories setup....
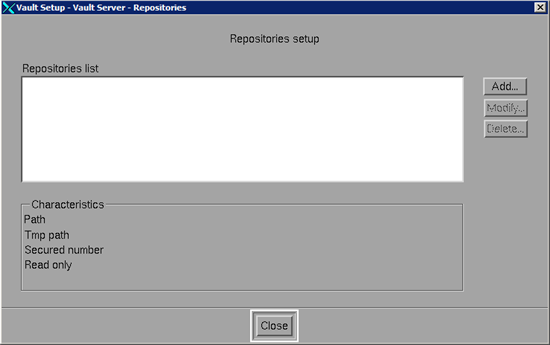
The Vault Setup - Vault Server - Repositories dialog box appears.
-
Click Add... to set the repository.
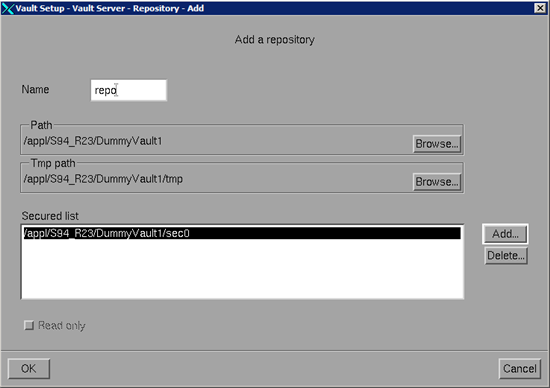
The Vault Setup - Vault Server - Repository - Add dialog box appears.
-
In the Name box, type the name of the repository.
-
Click Browse... to create the dummy vault path
The Select the repository path dialog box appears.
-
Select the folder or enter the name of the folder in the Look in box and click Select Folder.
The Path is replaced with the
required path for the selected folder.
-
Click Browse... to create the path of the
temporary Vault.
The Select the repository TMP path dialog box appears.
-
Select the folder or enter the name of the folder in the
Look in box and click Select Folder.
The Tmp path is replaced with the
required path for the selected folder.
-
Click Add... to add the secured folders.
The Select the secured to add dialog box appears.
-
Select the folder or enter the name of the folder in the
Look in box and click Select Folder.
The Secured List area list the path of the secured
folder.
-
Click OK to return to the Vault Setup - Vault Server - Repositories
dialog box.
-
Click Close to return to the Vault Setup - Vault Server - Add
dialog box.
The Vault Server setup is installed.